Language
 Canada
How to use the Adobe PDF (.pdf) Template from Newprint
Note: PDF files are intended to be for viewing purposes only. However, they can be edited using Adobe Illustrator. Keep in mind that .pdf templates are not suitable for books and multi-page documents. If you want to print a multi-page product or a book, use our .idml templates for Adobe InDesign.
To edit a .pdf template in Adobe Illustrator, follow these steps:
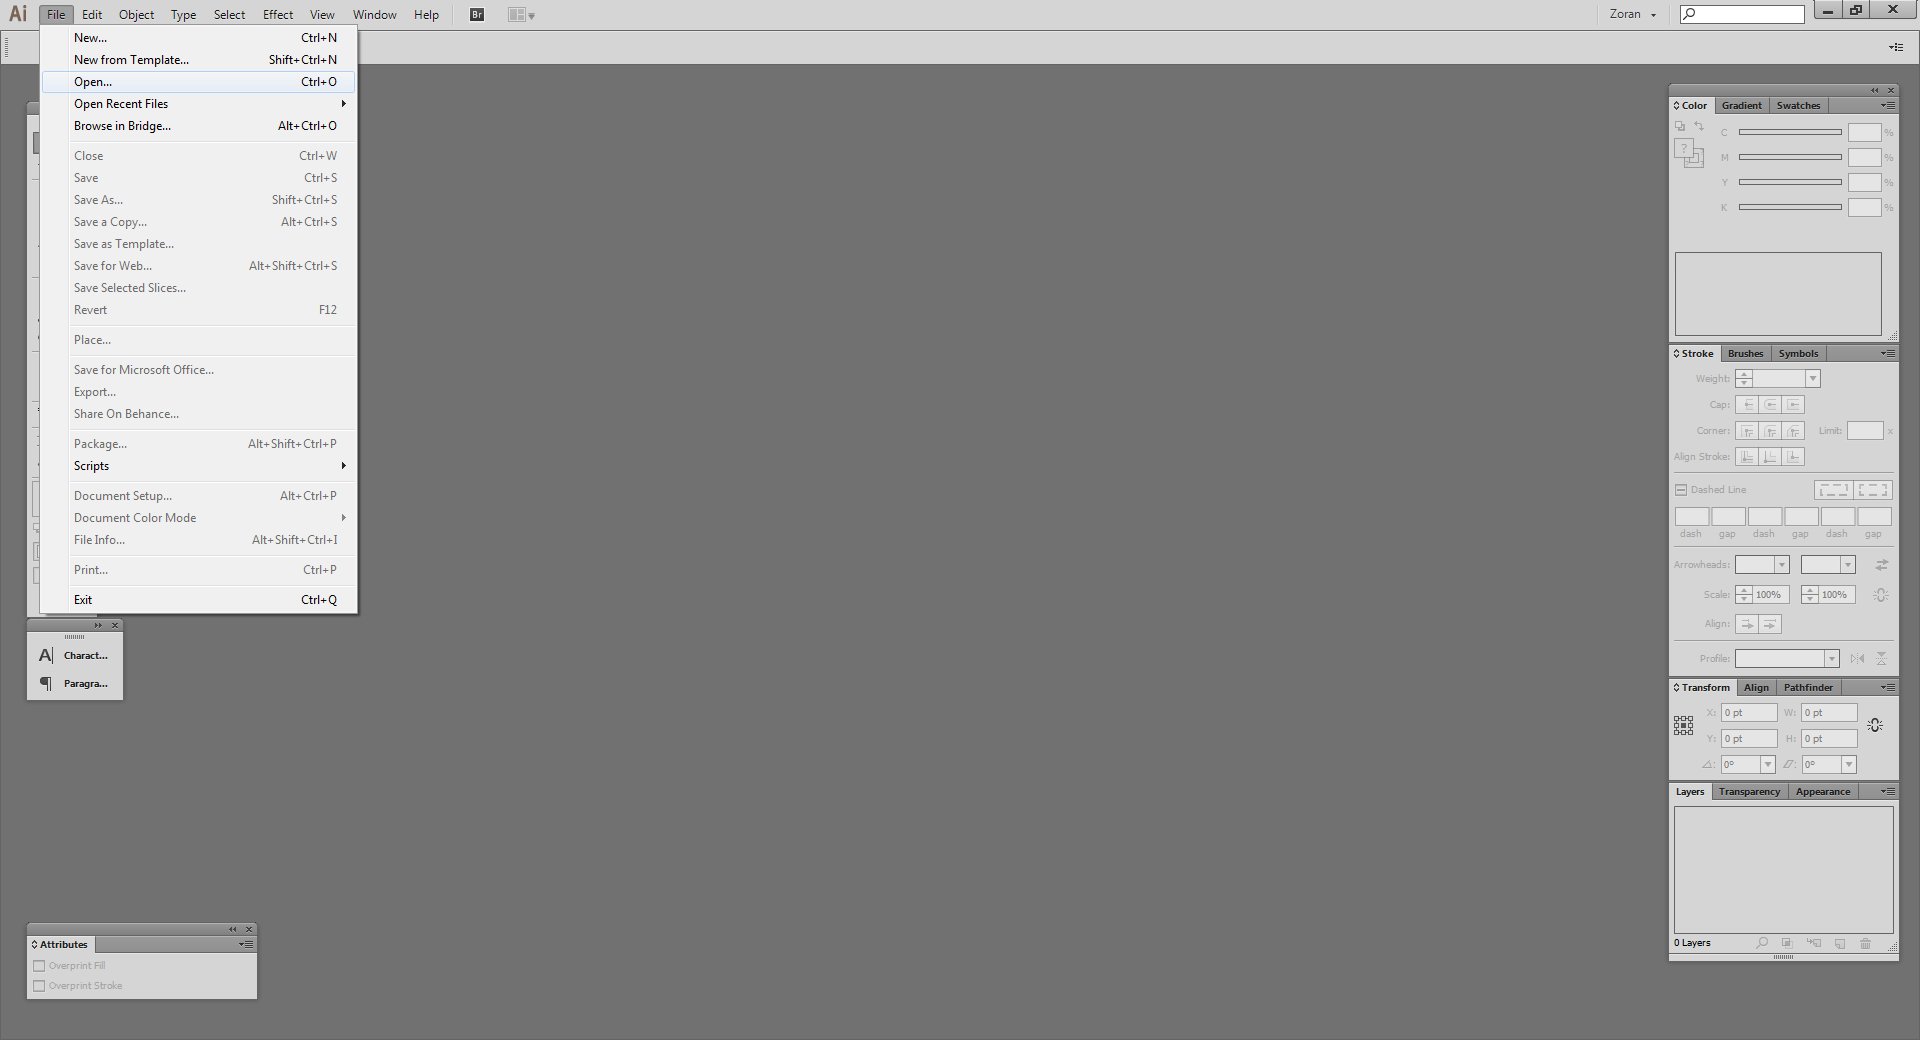
- Open Adobe Illustrator.
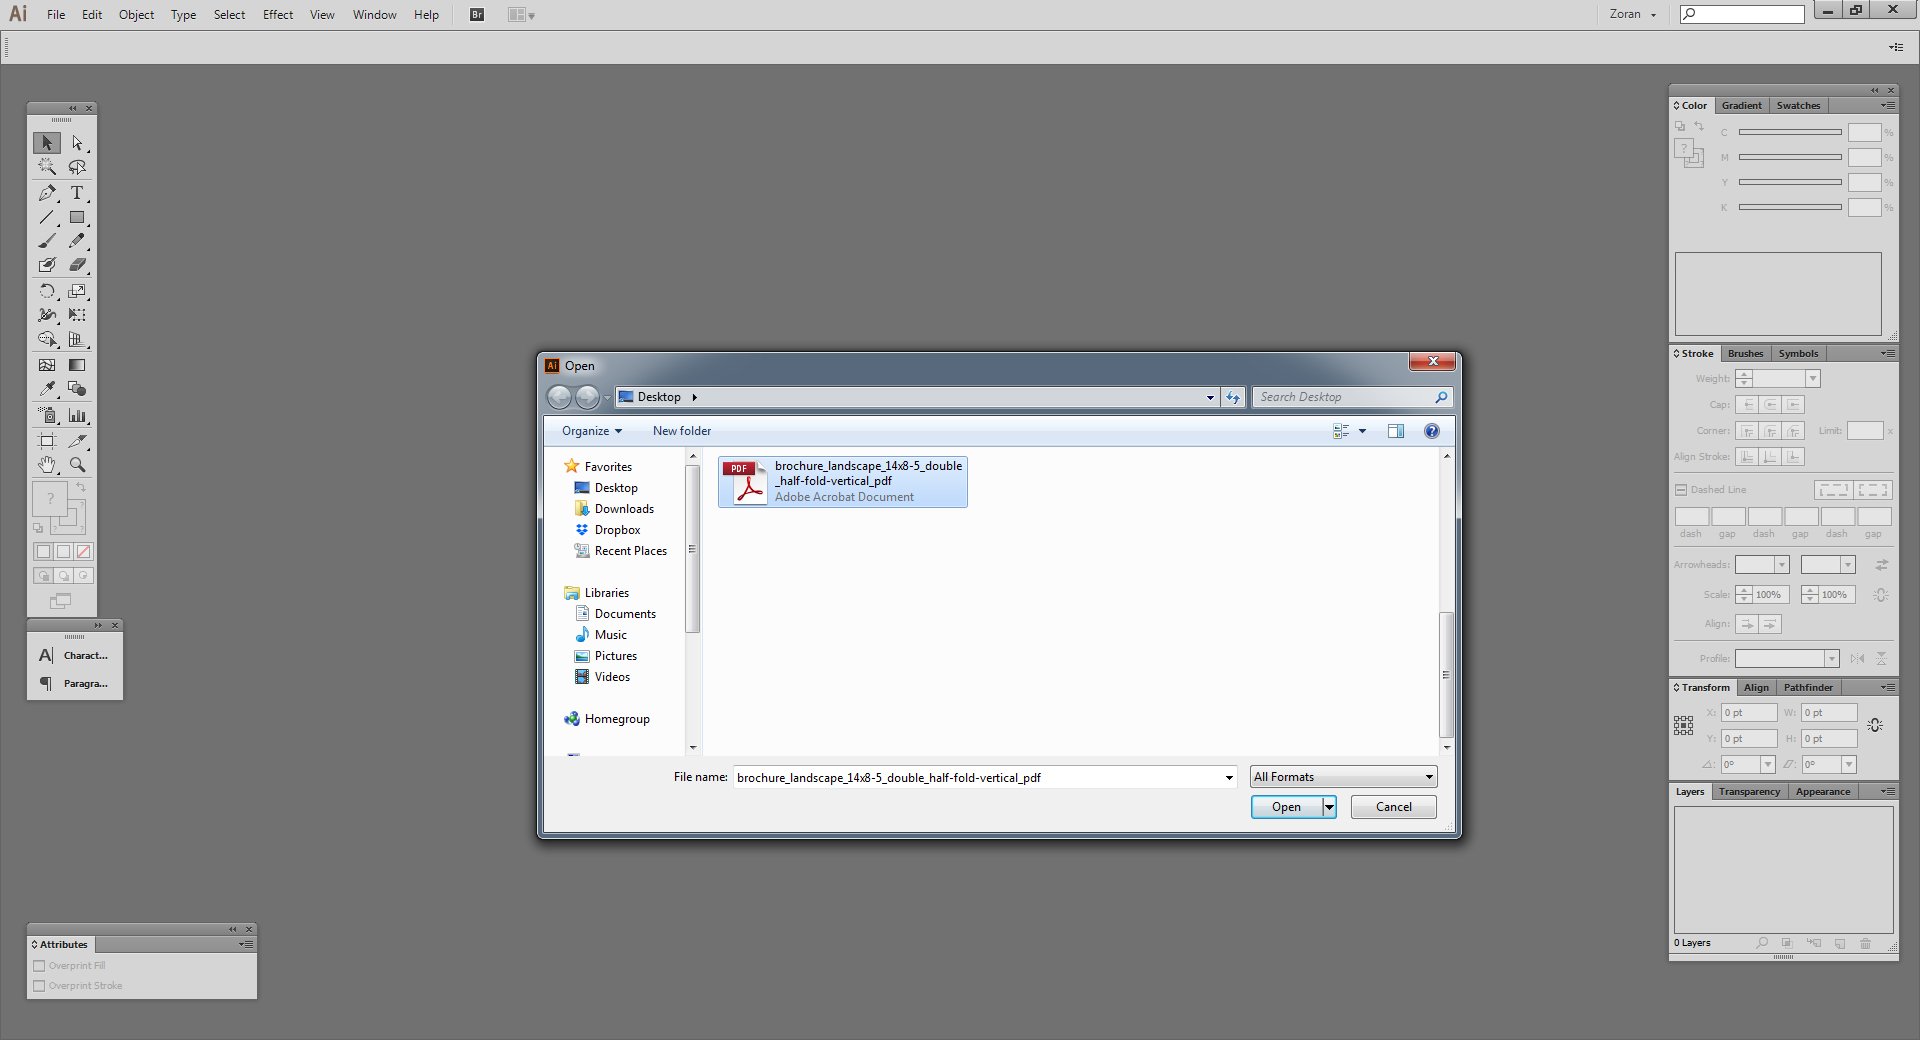
- Go to FILE / OPEN, choose the .pdf template file you have downloaded and click open.
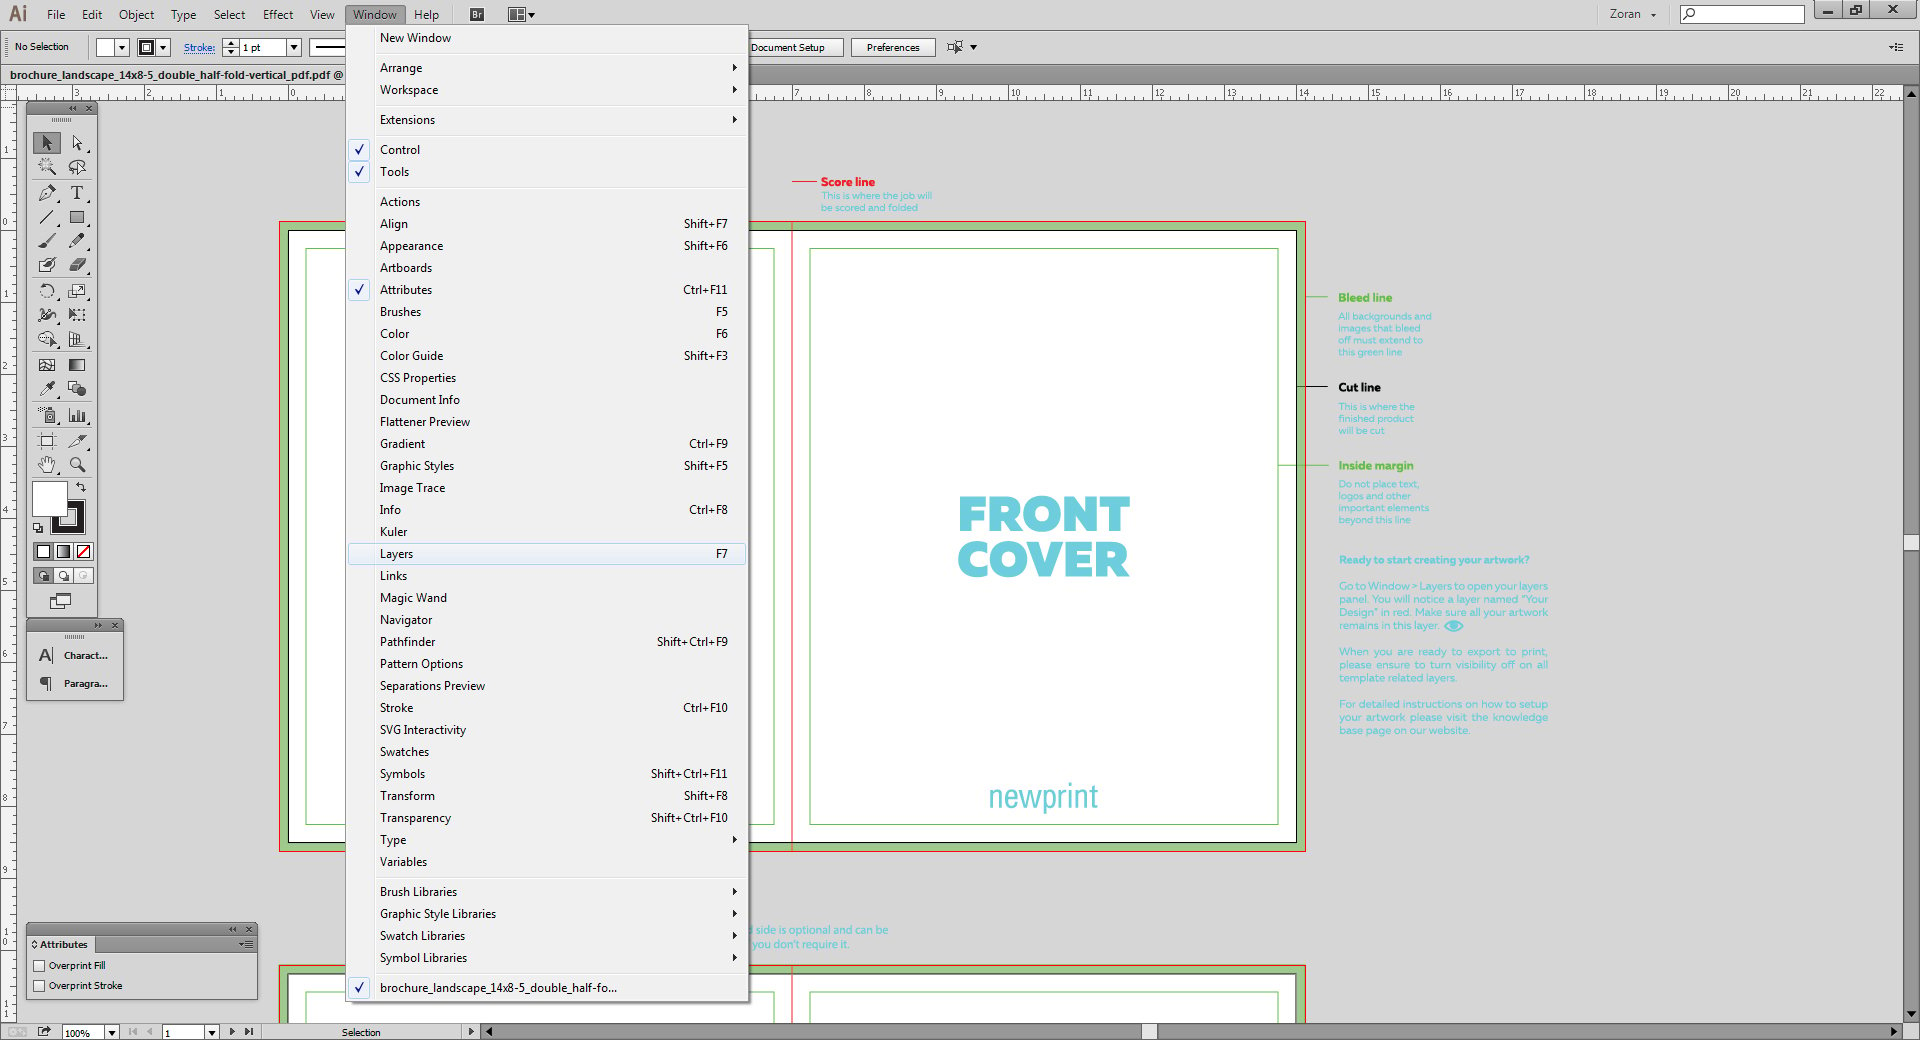
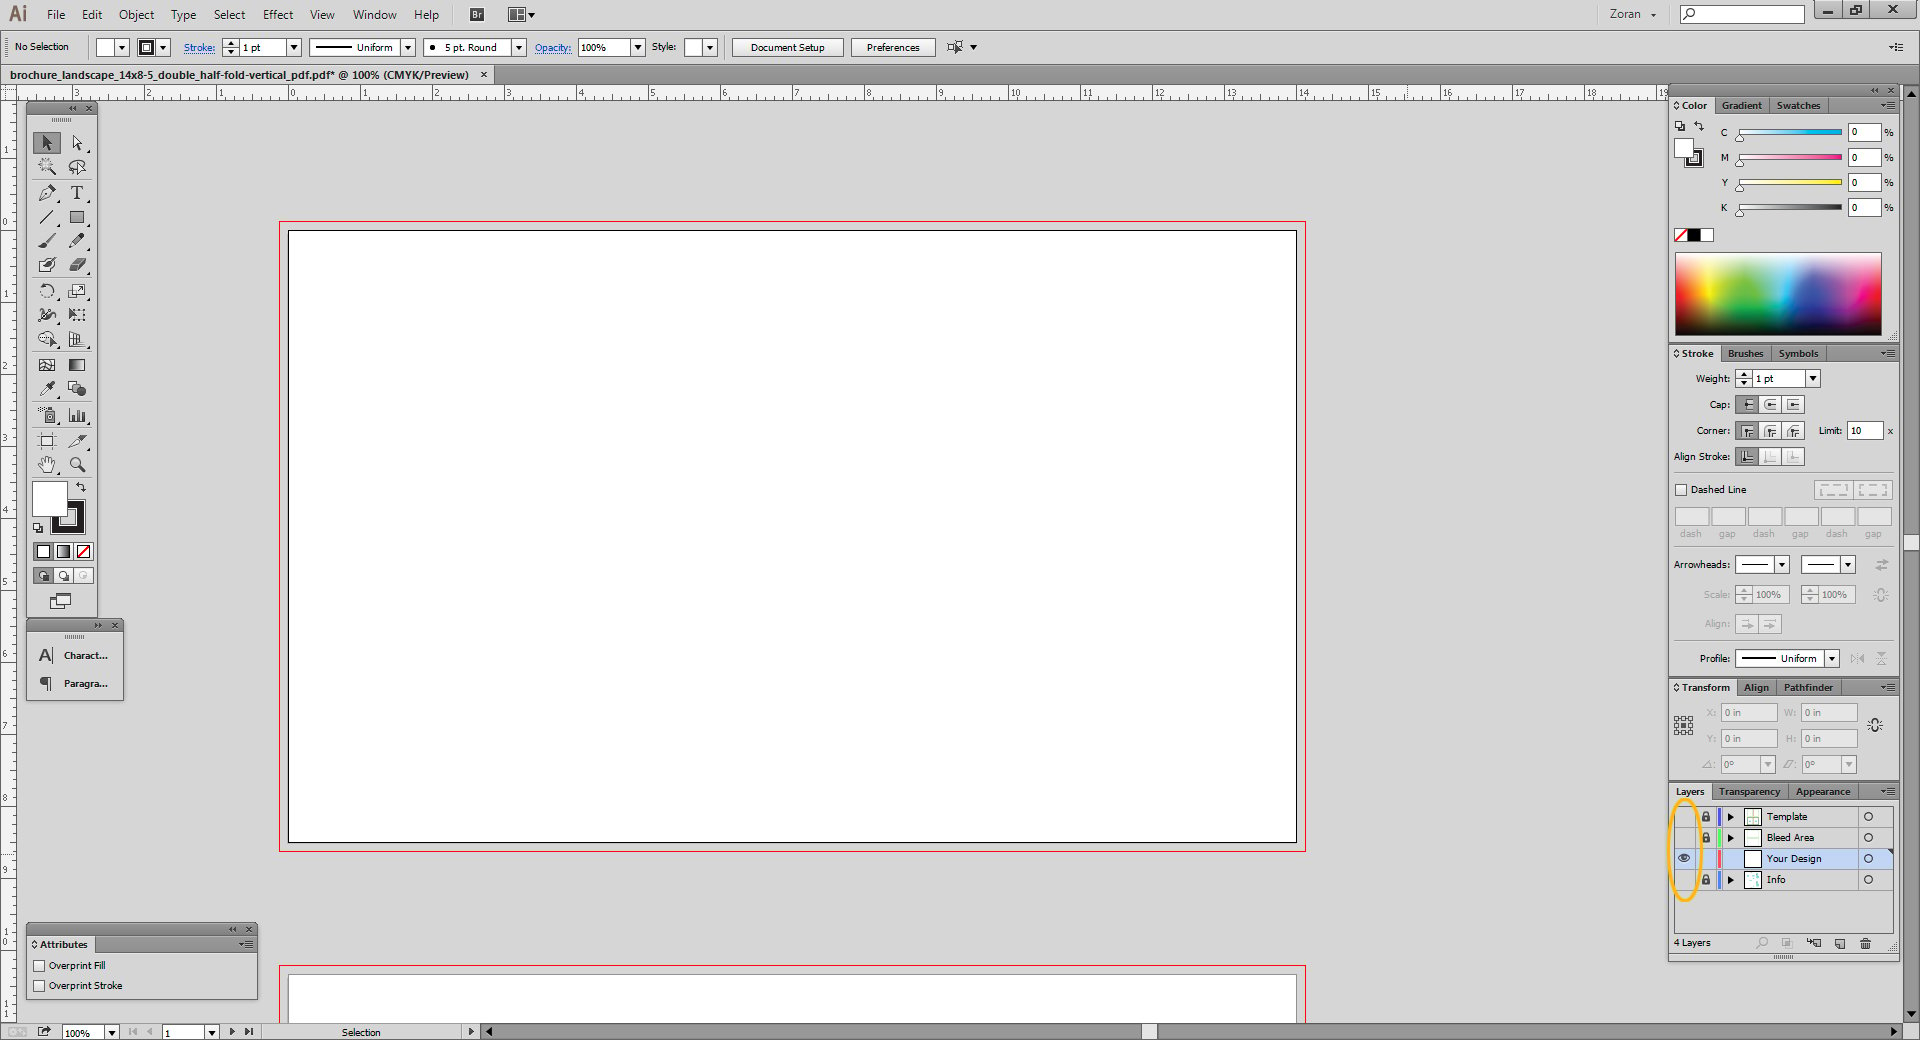
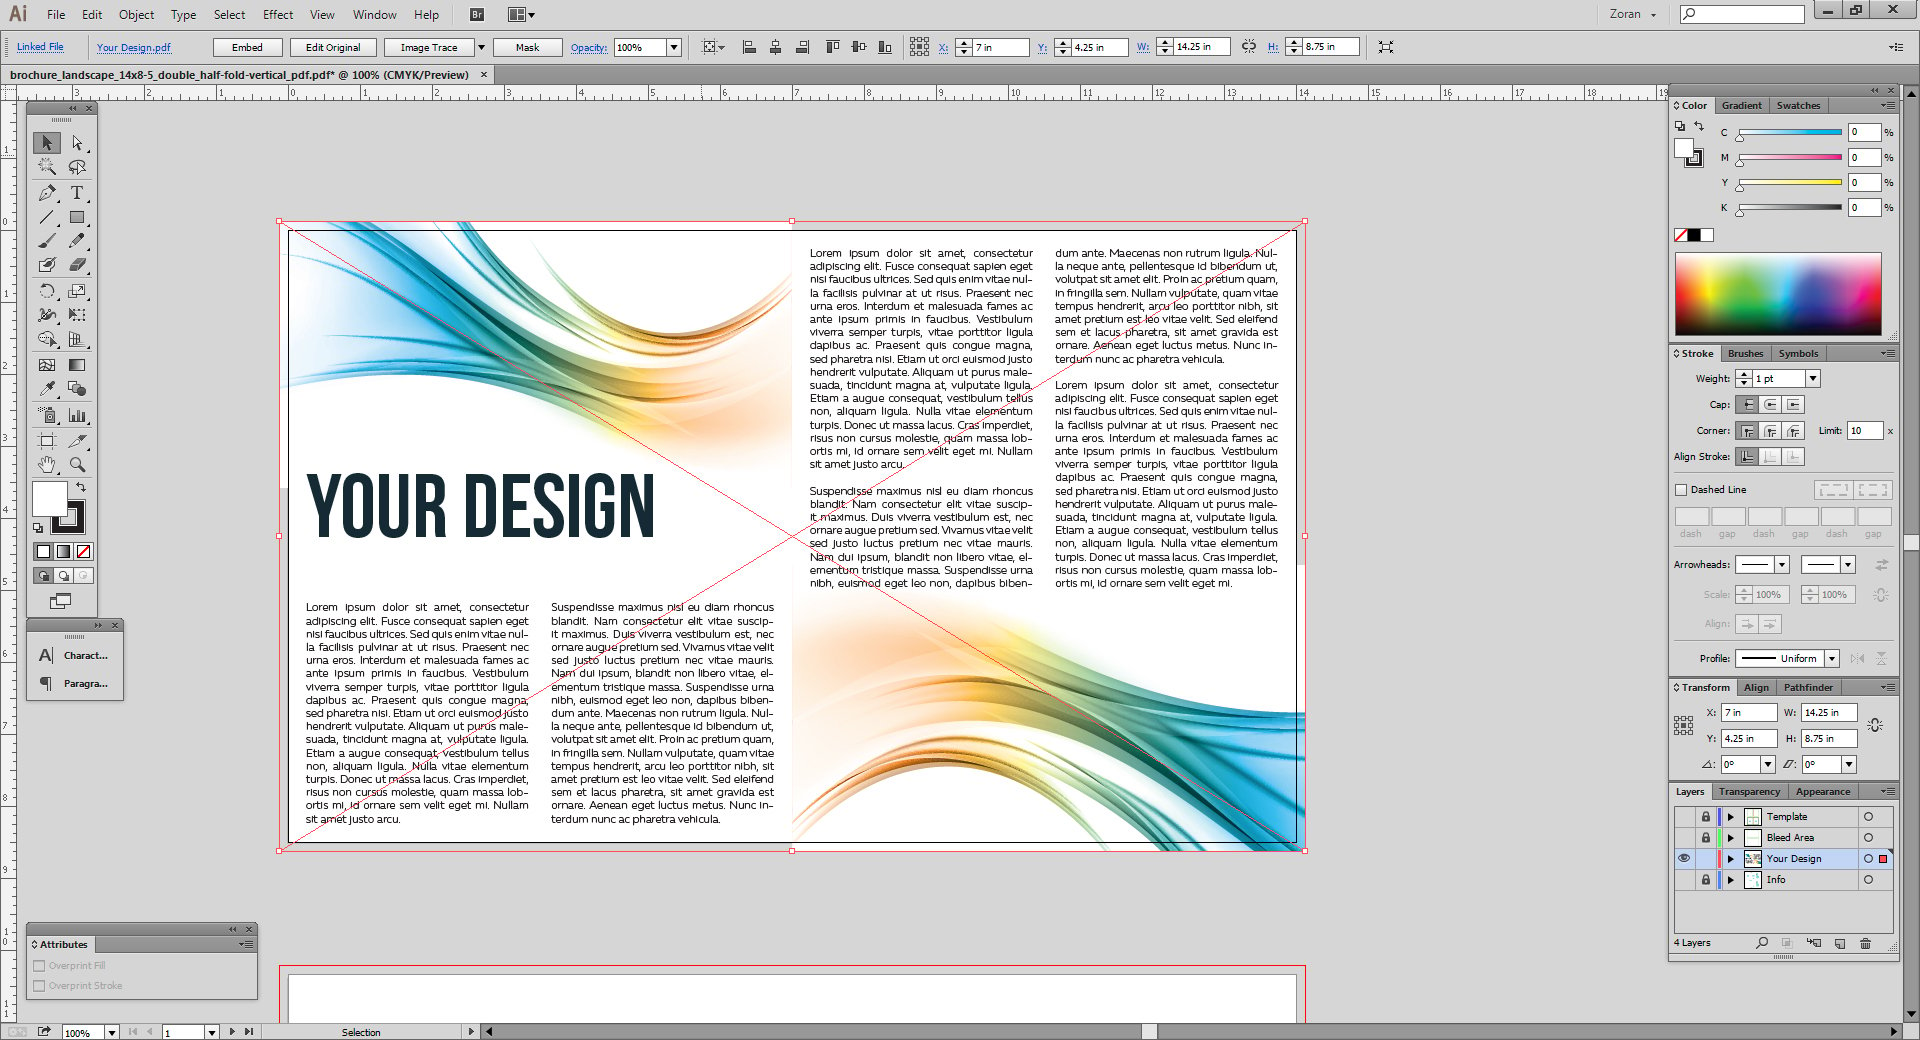
- To use this template properly, you will need to refer to the Layers panel. To make this panel visible, go to WINDOW / LAYERS.
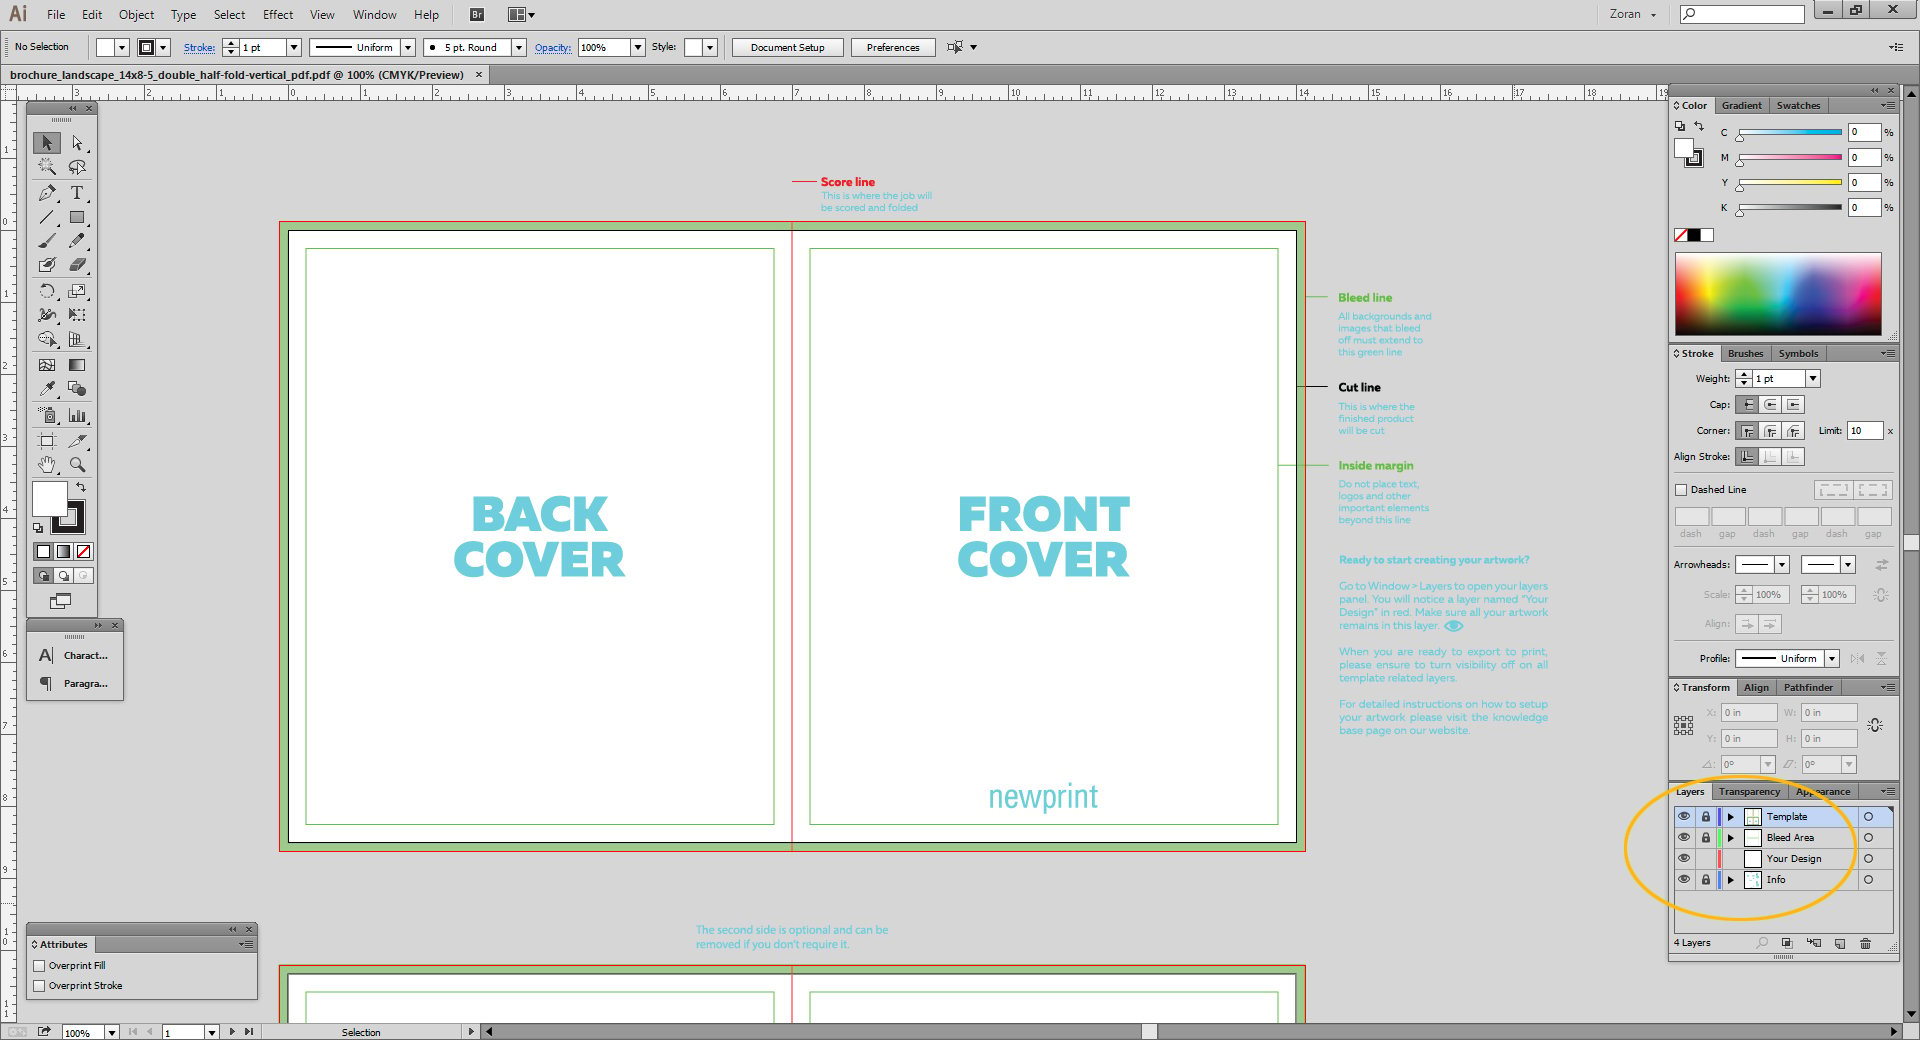
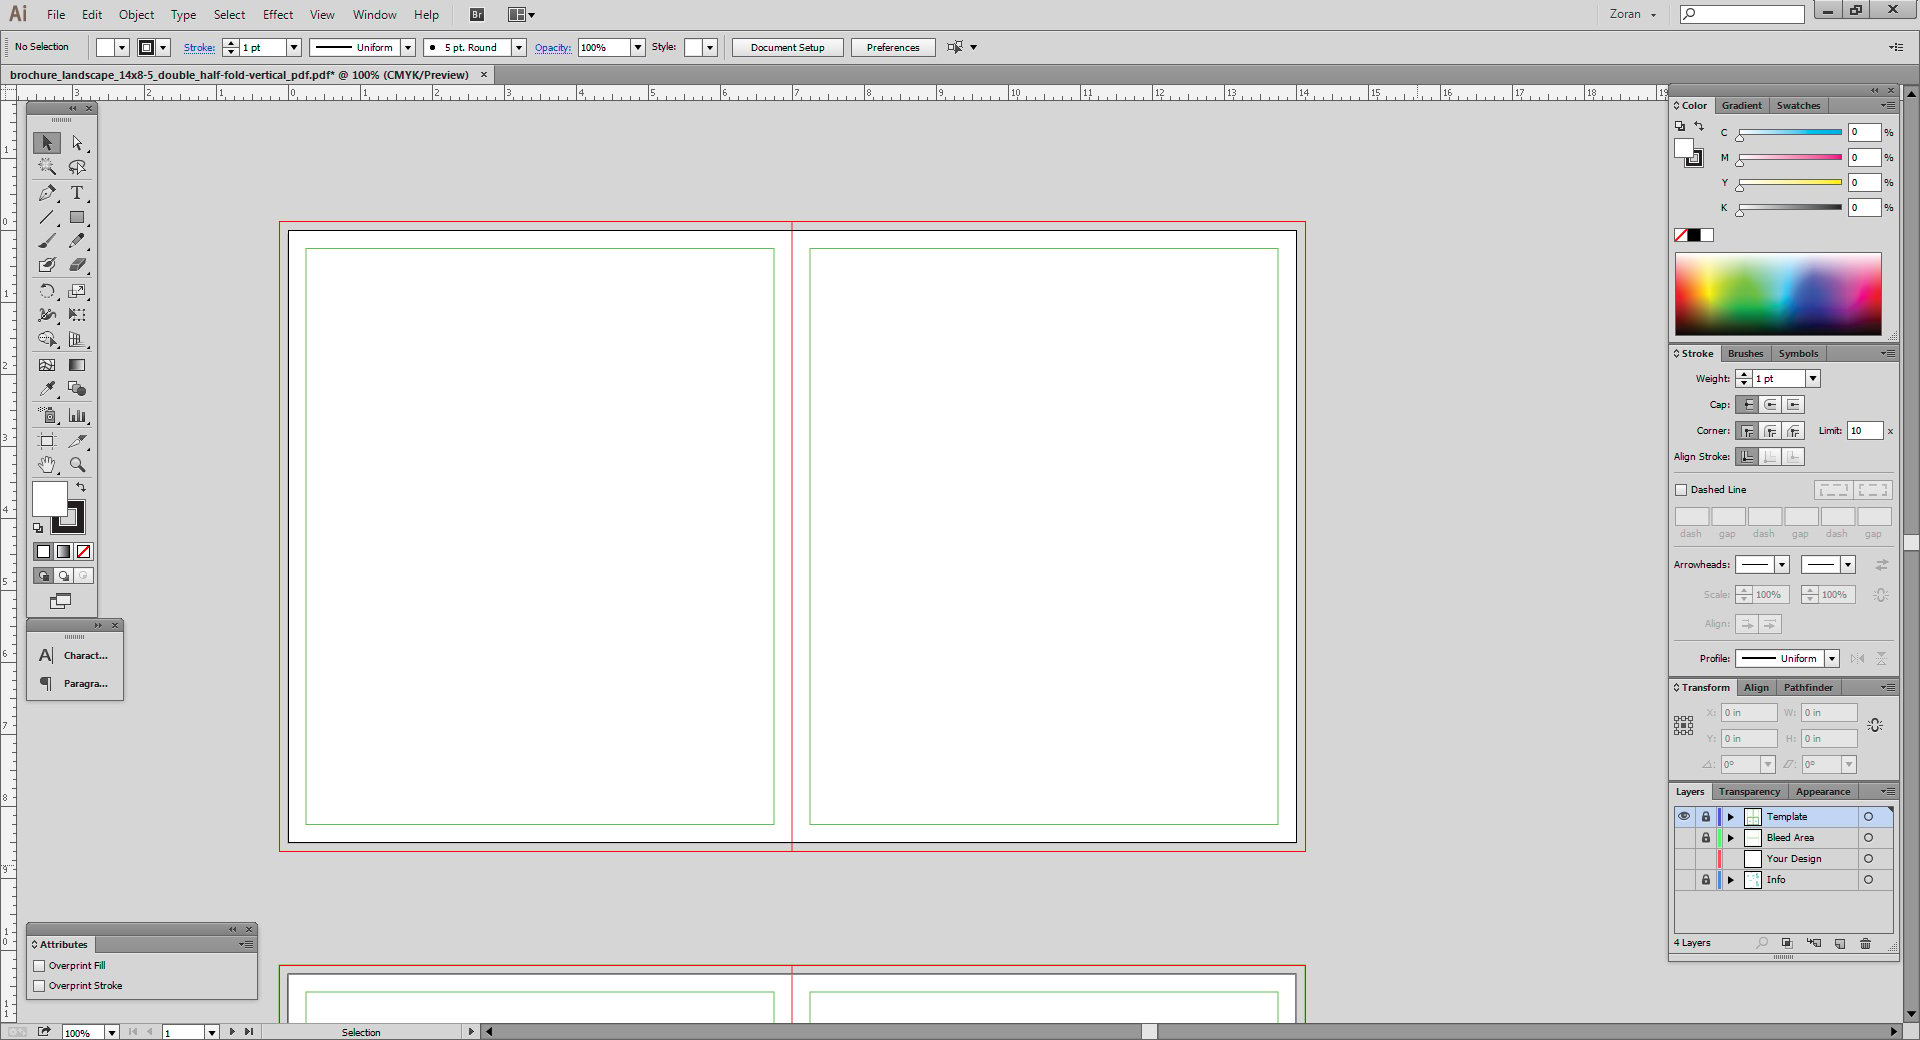
Once the Layers panel is visible, you will notice the template file has 4 layers:
Template Layer - this layer indicates where your product will be trimmed and folded (if it has folds), as well as bleed area and inside margins.
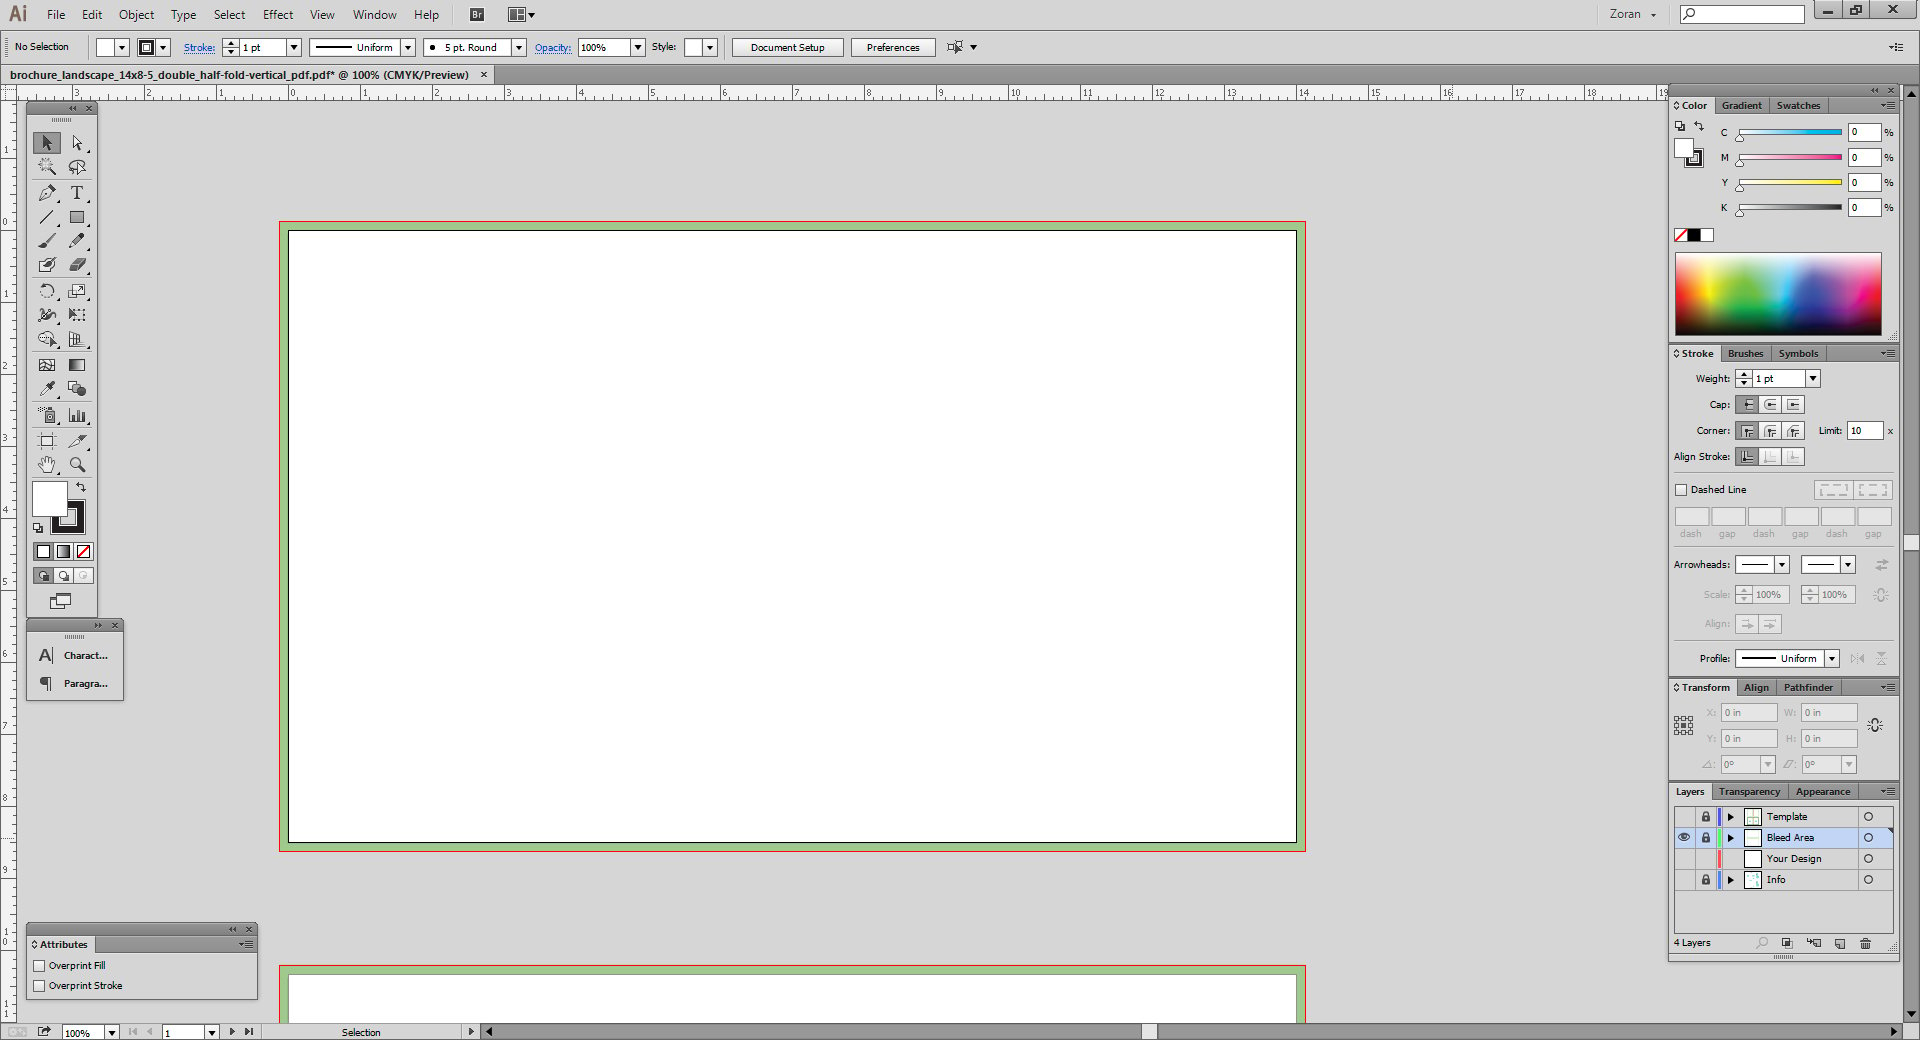
 Bleed Area - this layer shows you the required bleed area, a portion of the paper sheet that will be cut off in the print process.
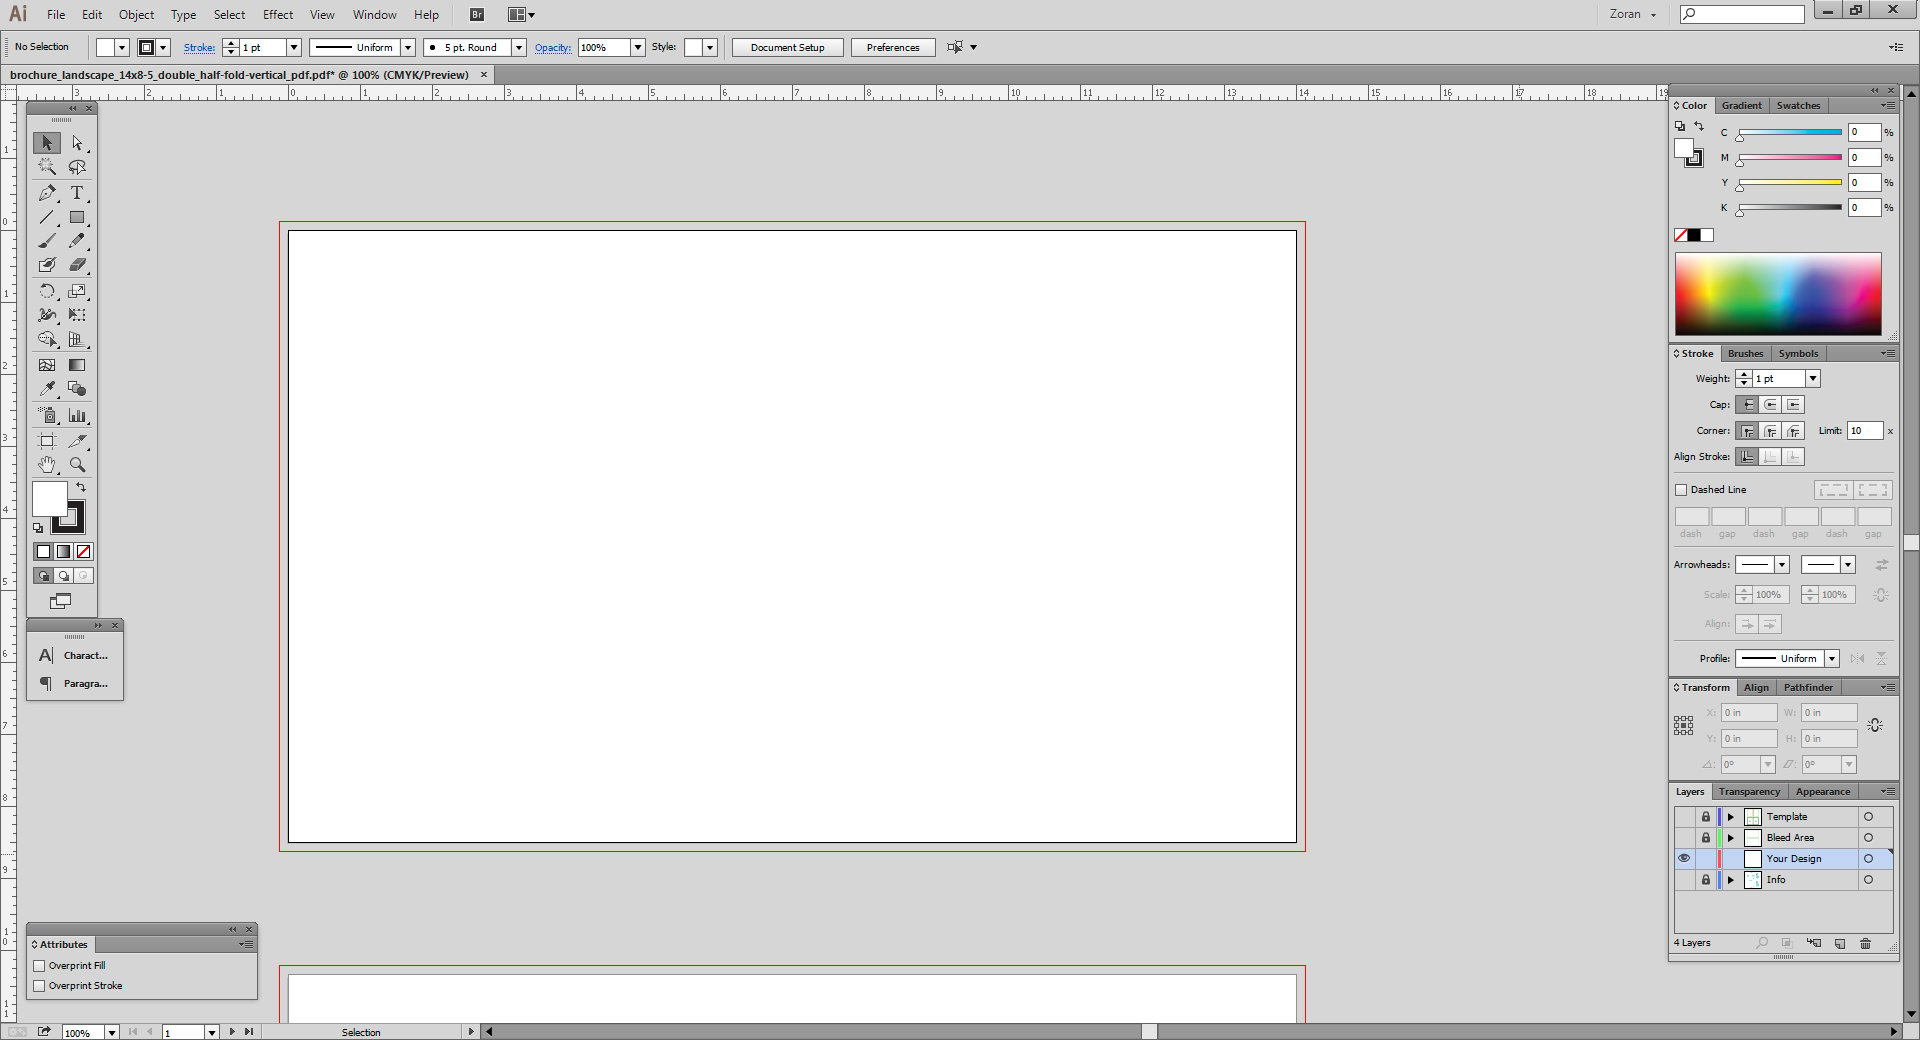
 Your Design - this is the layer you should use to create your design from scratch, or if you already have a finished design, this is the layer you should place the design to.
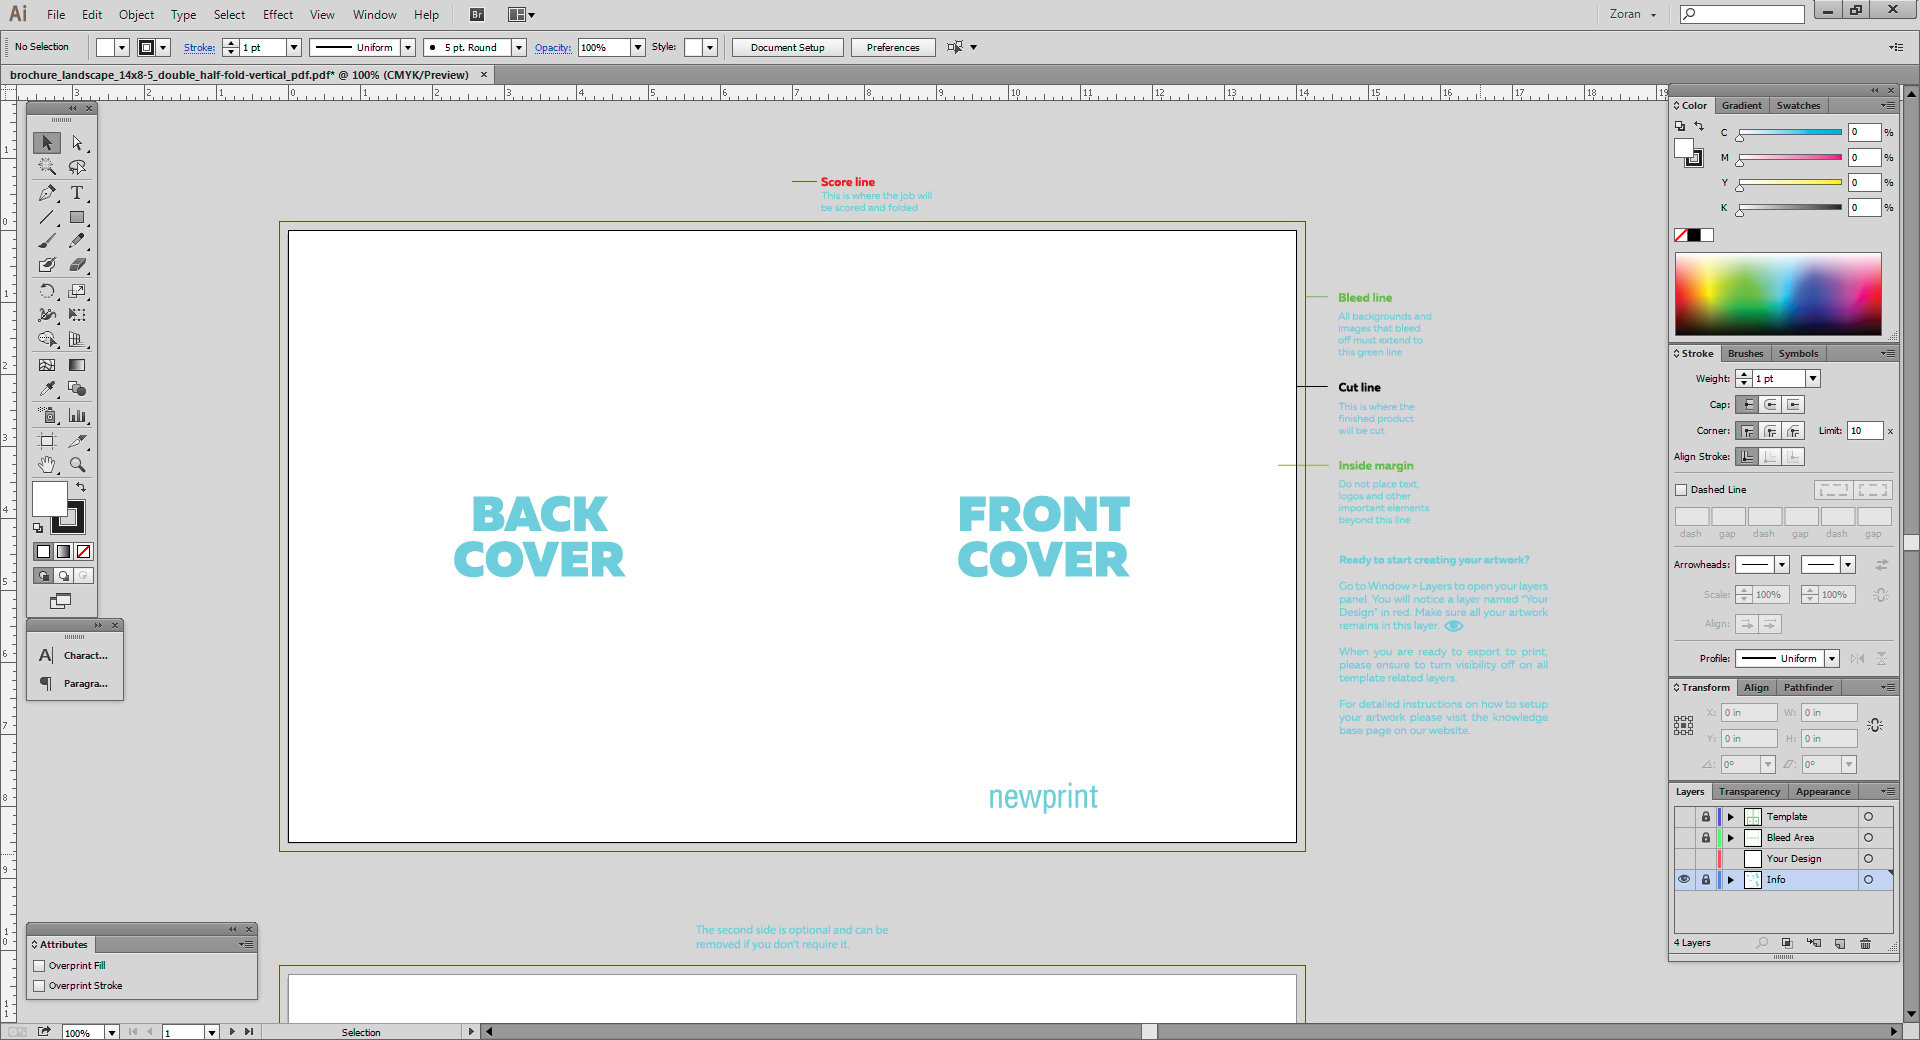
 Info - this layer contains information that helps you better understand what trim, bleed and margin lines are. It also indicates front and back document sides, the position of different panels on folded documents, as well as text and image orientation.
- To create your design from scratch, click on the Your Design layer and place every design element on that layer. You can turn the visibility of all the layers on and off by clicking the Visibility icons.
 When creating your design, make sure that the artwork extends all the way to the bleed lines. Also, all the important design elements (such as text and logos) must be placed within the inside margins. Save your design as an .ai file.
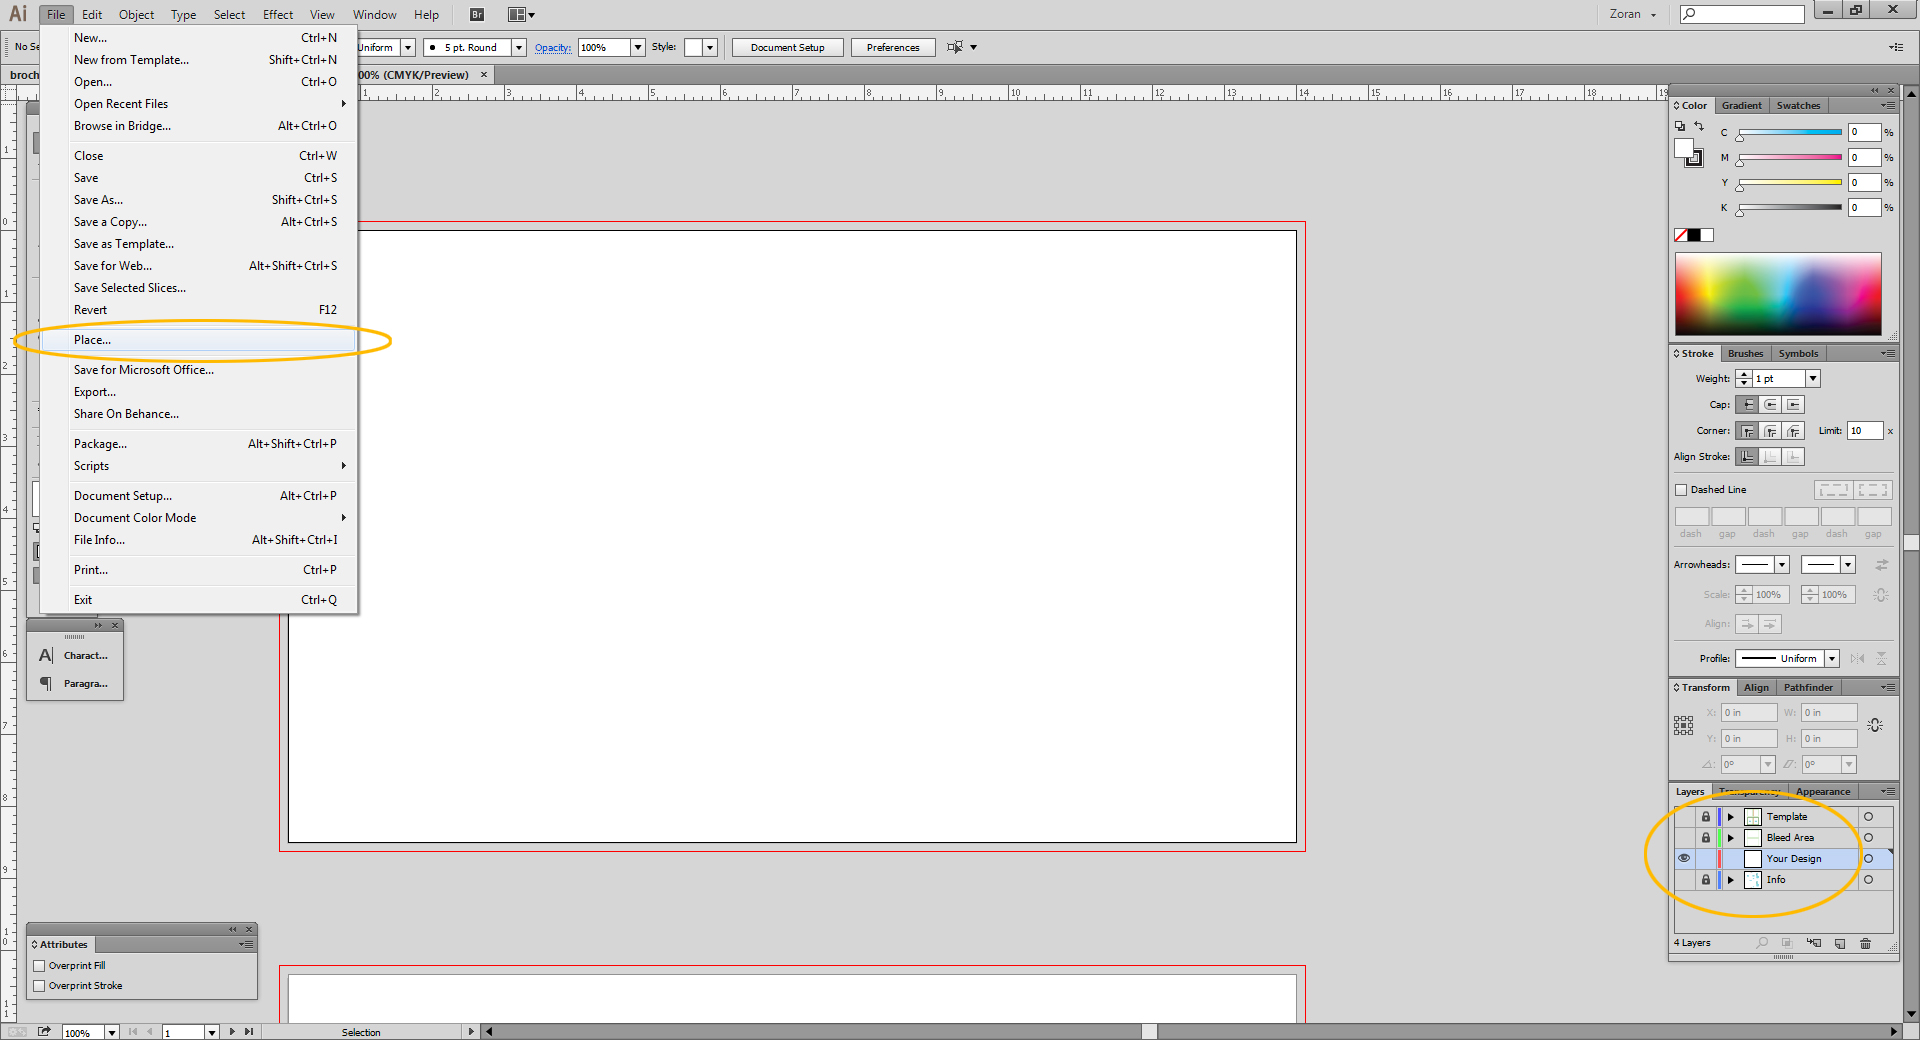
Note: if you're creating a two-sided document, repeat this step for the back side of the template as well. - If you already have a finished design, you can check if it's set up properly by placing it onto our template and making sure everything fits within template margins. To place your design, make sure the Your Design layer is selected. Go to FILE / PLACE, browse to your design file and click Place.
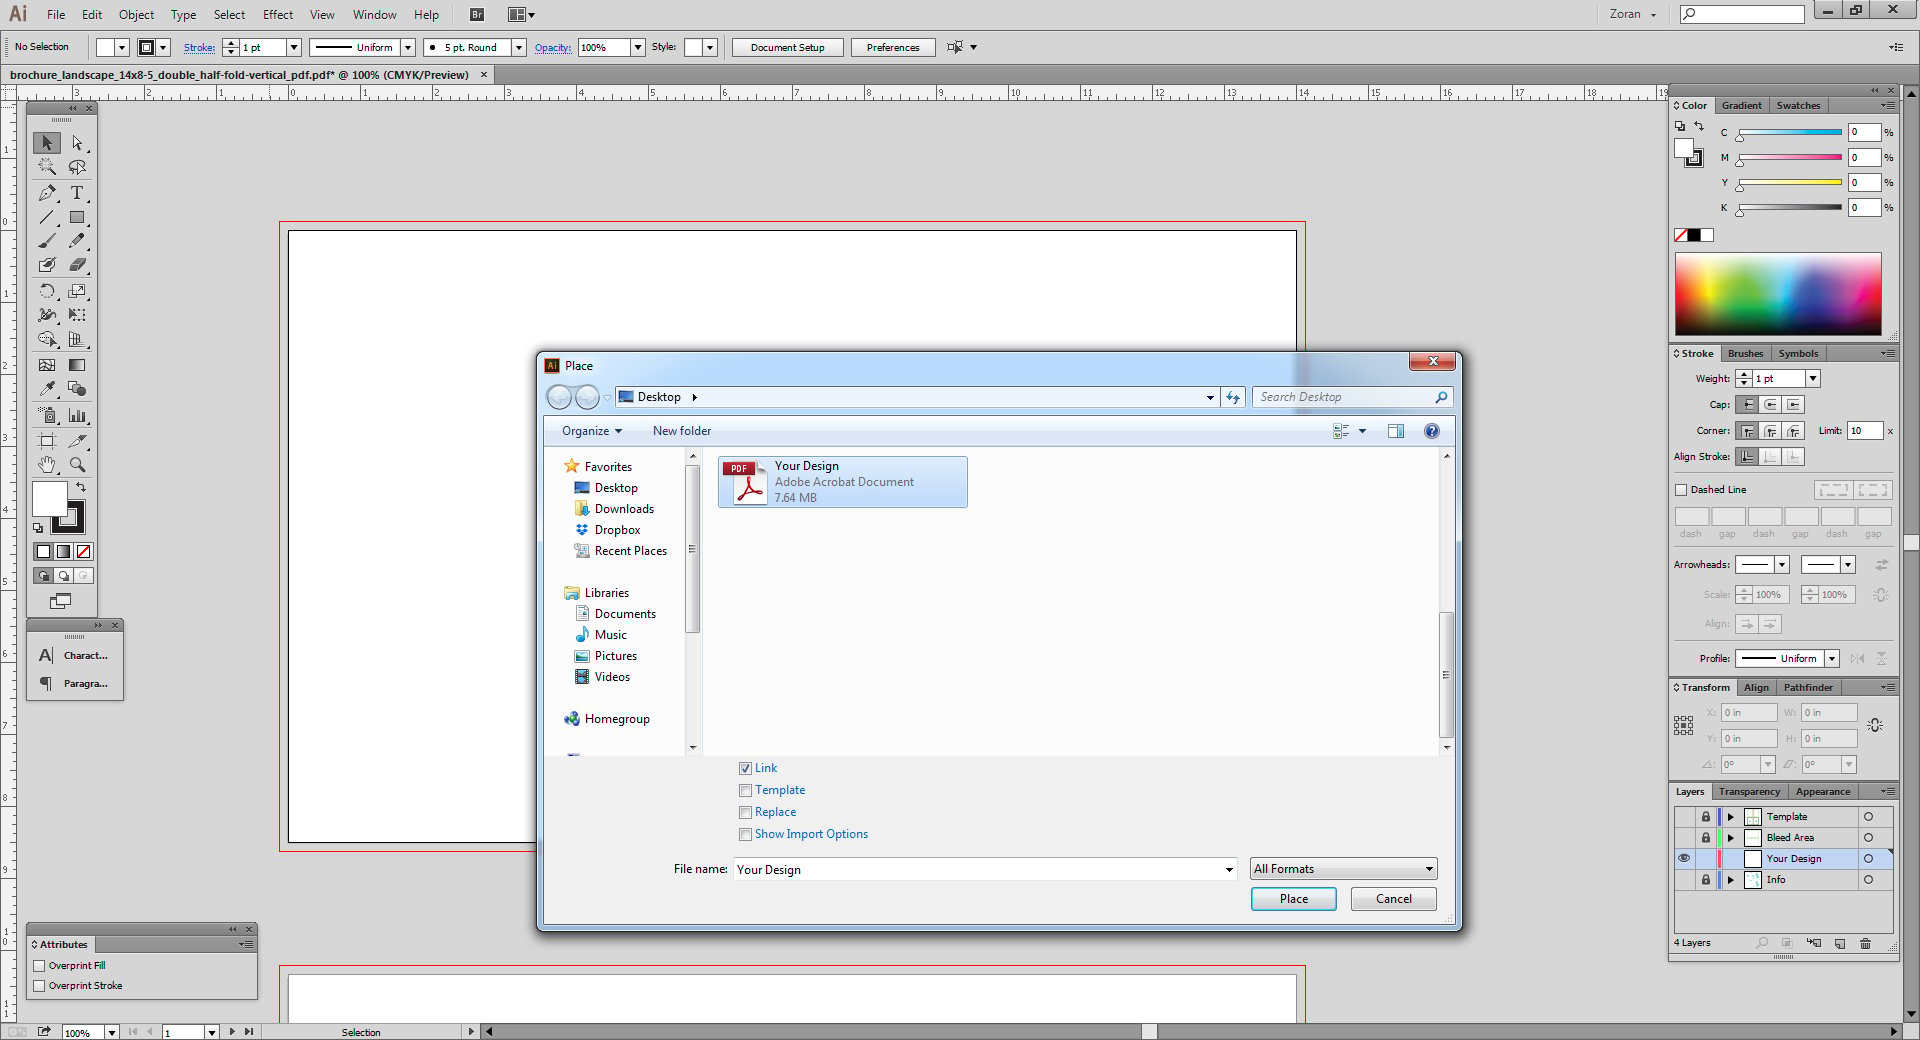
Then click anywhere on the artboard in order to to place your design.
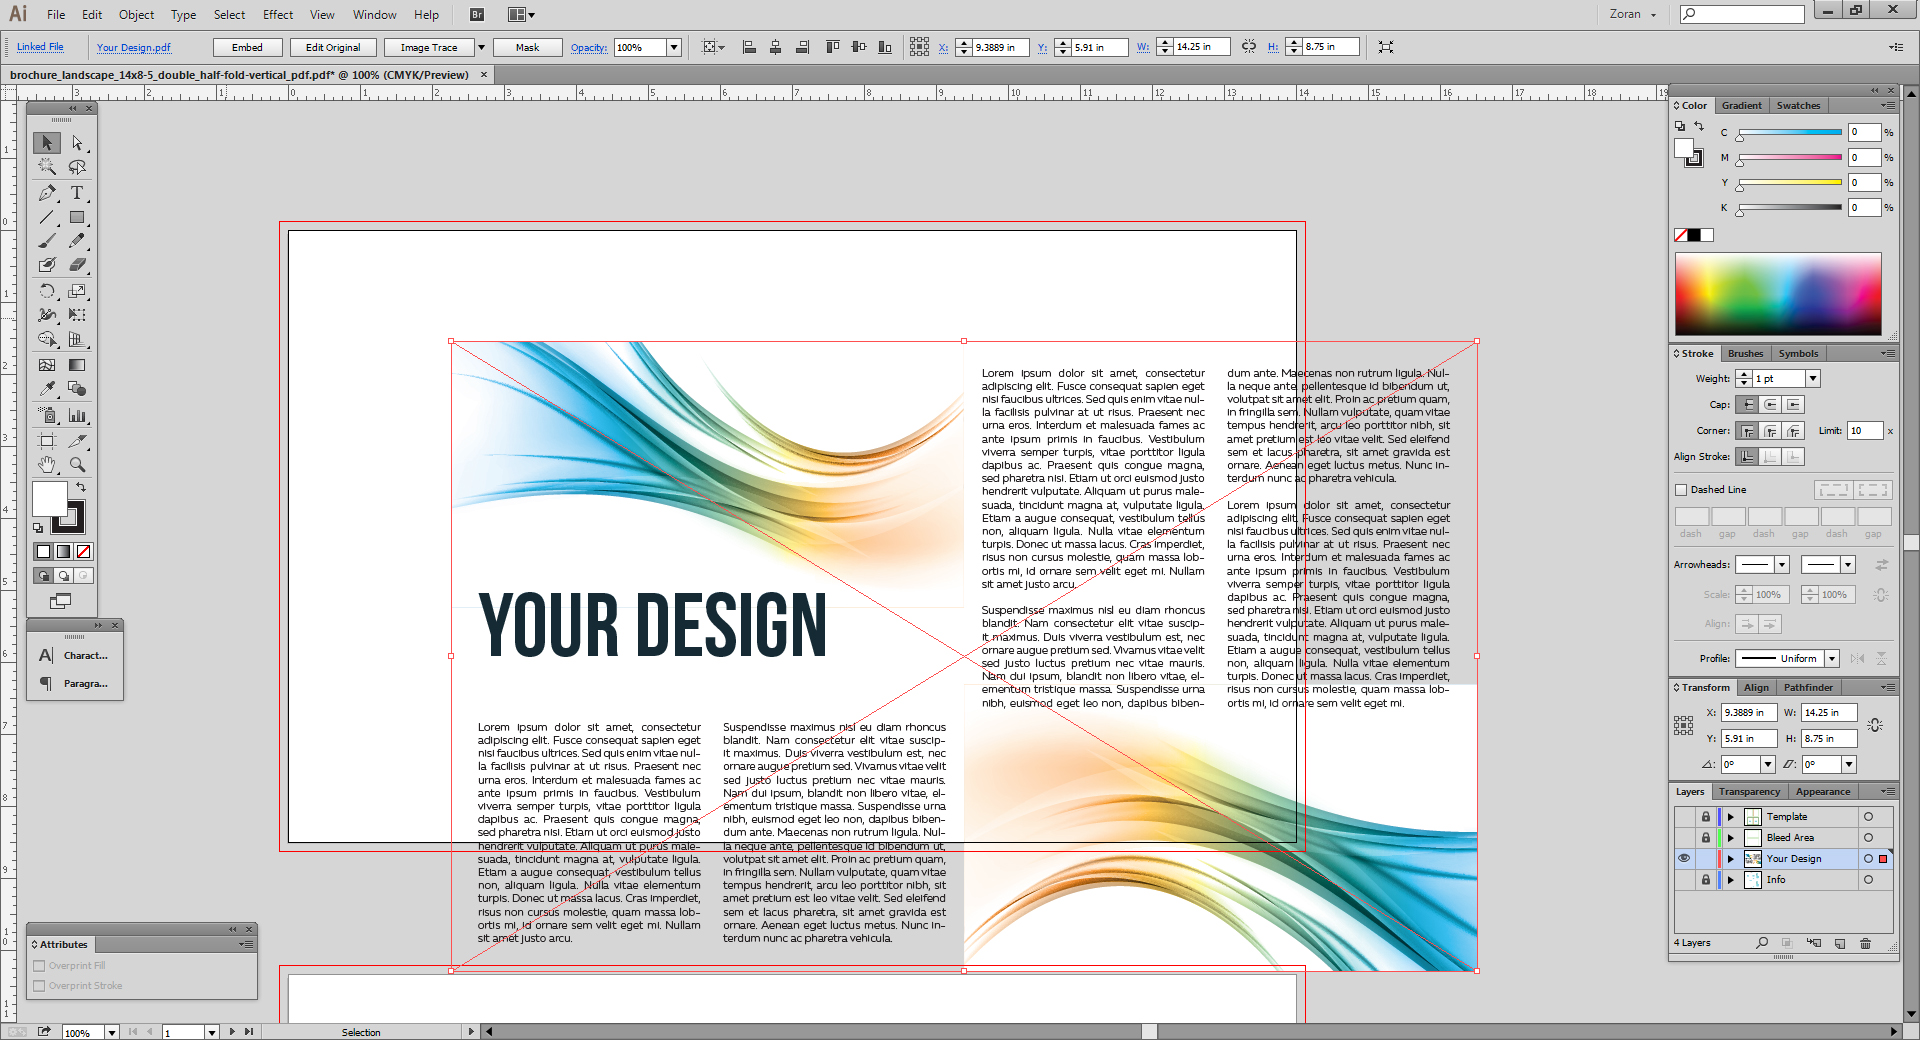
Re-position the artwork so it fits within the document dimensions and margins.
Save your design as an .ai file.
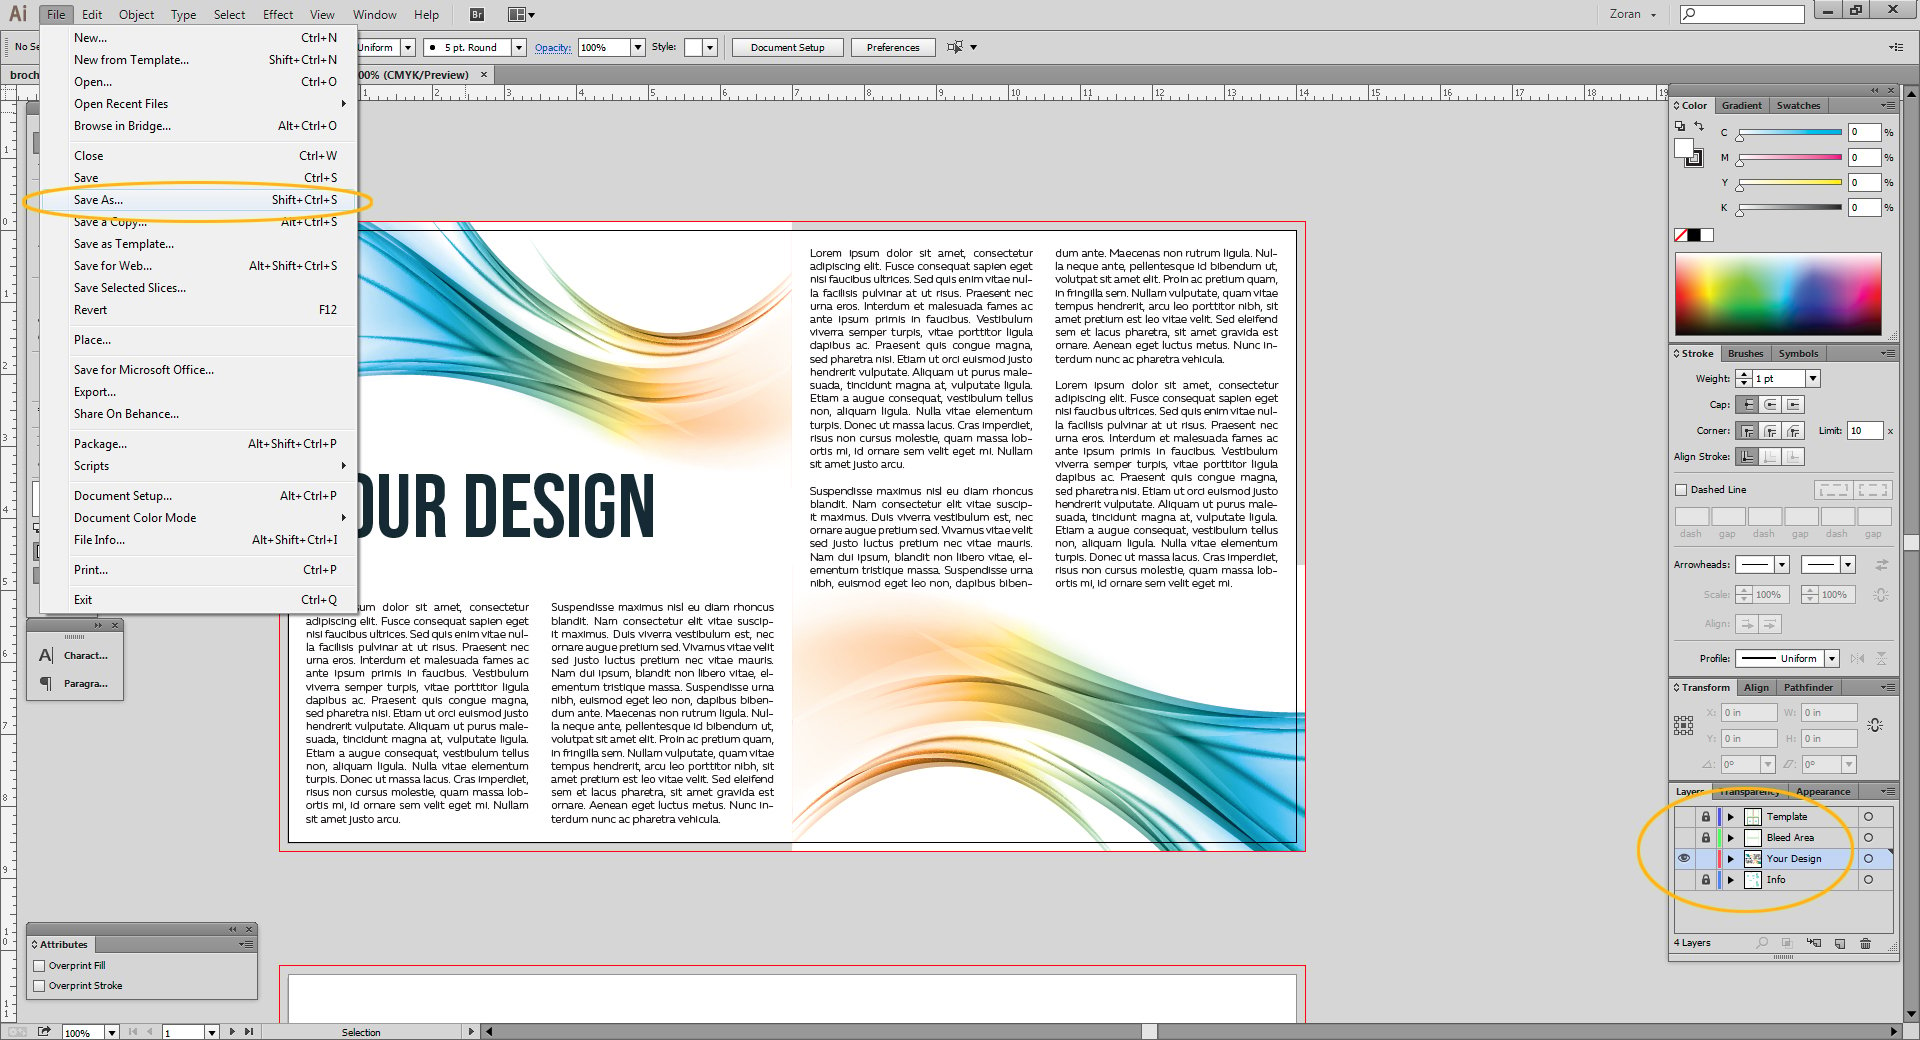
Note: if you're creating a two-sided document, repeat this step for the back side of the template as well. - To export a print-ready PDF file, first turn the visibility off on all layers except the Your Design layer. Then go to FILE/ SAVE AS.
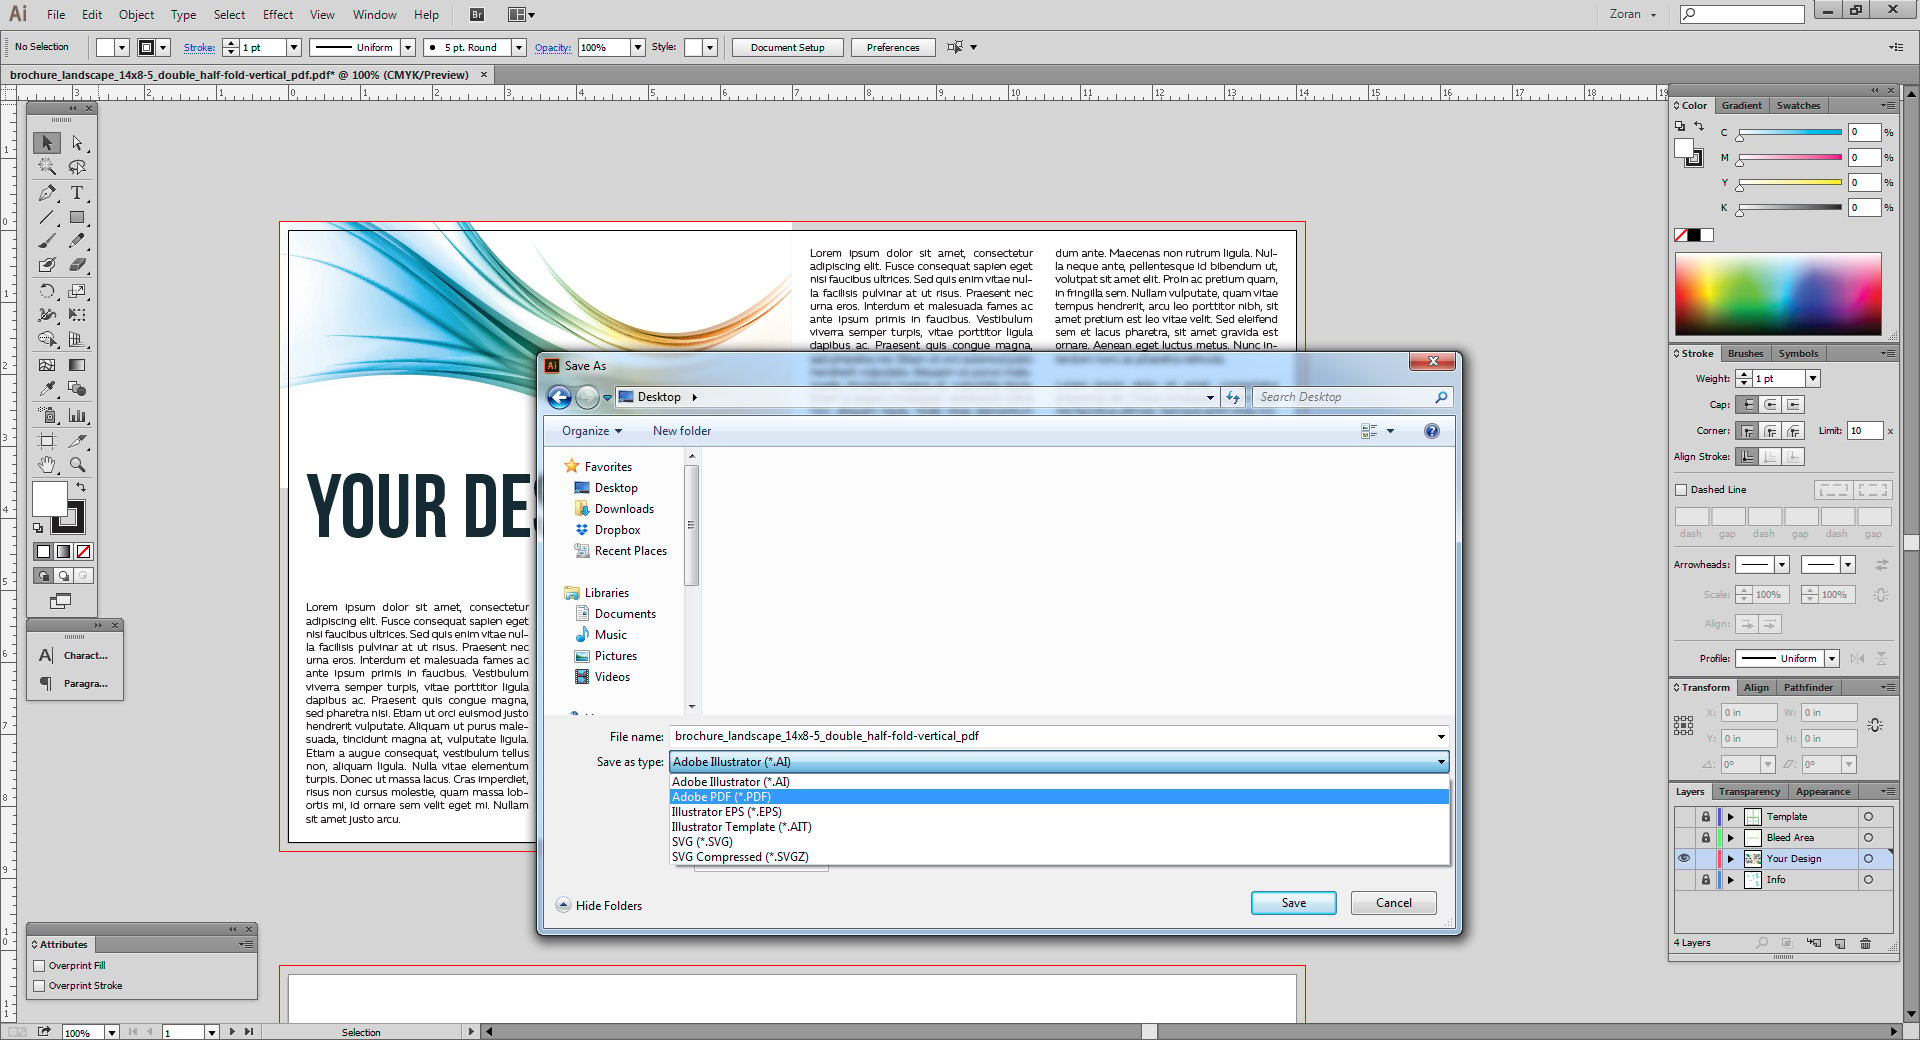
Select the folder you wish to save the file to and make sure you select Adobe PDF from the drop-down menu at the bottom of the dialog box.
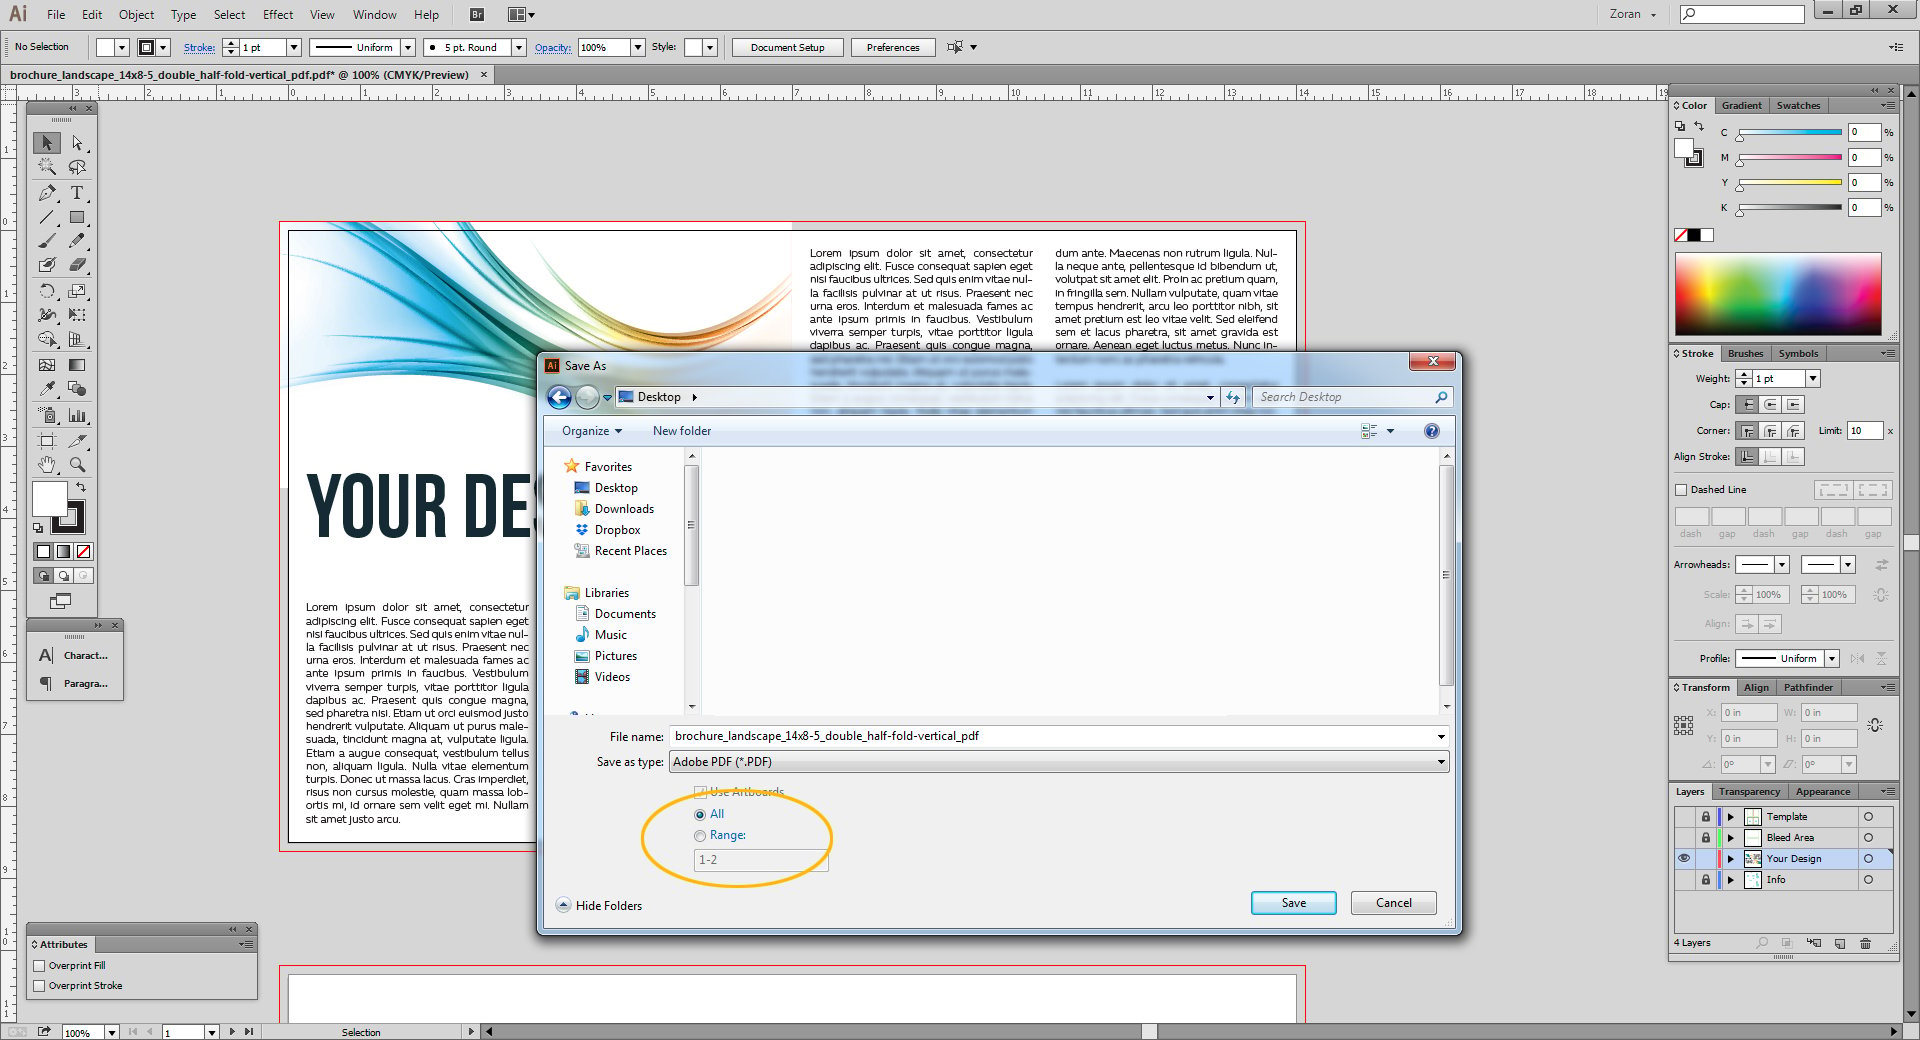
Make sure All is selected and click Save.
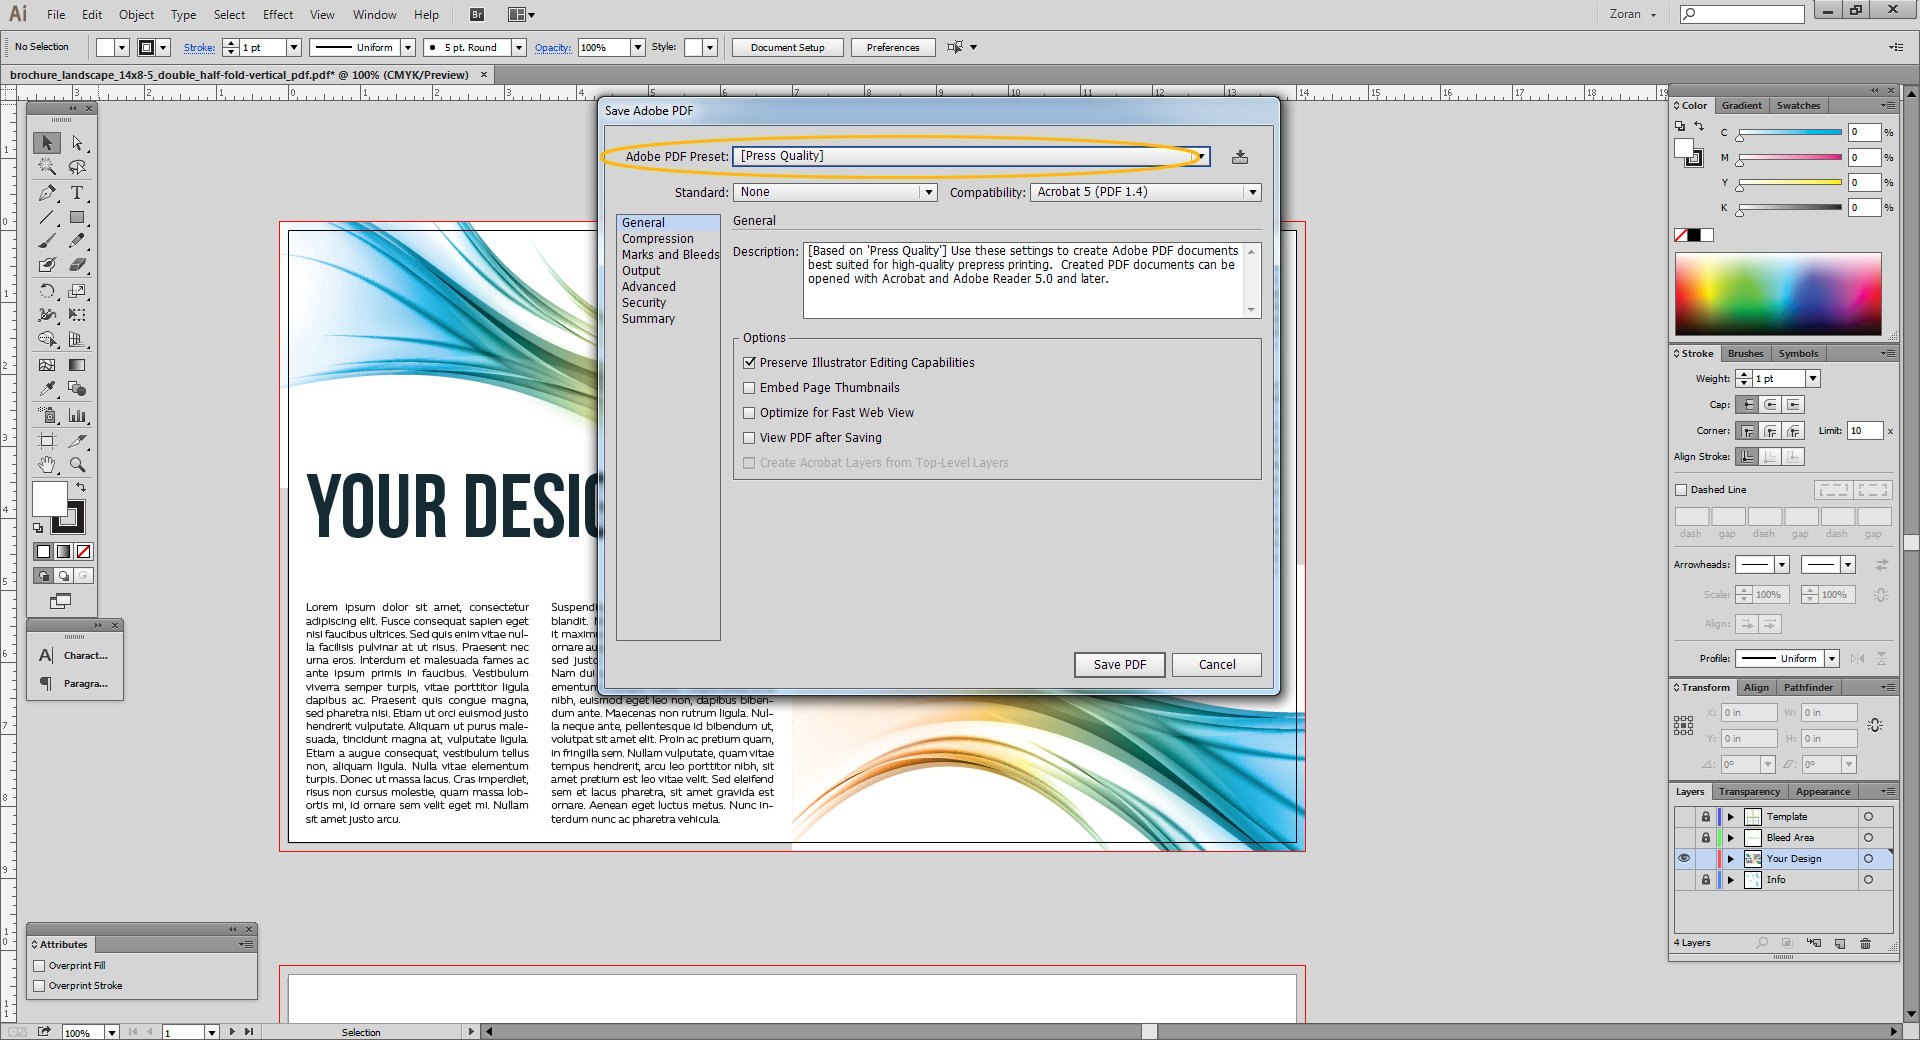
- In the next dialog box, for the Adobe PDF Preset option choose Press Quality.
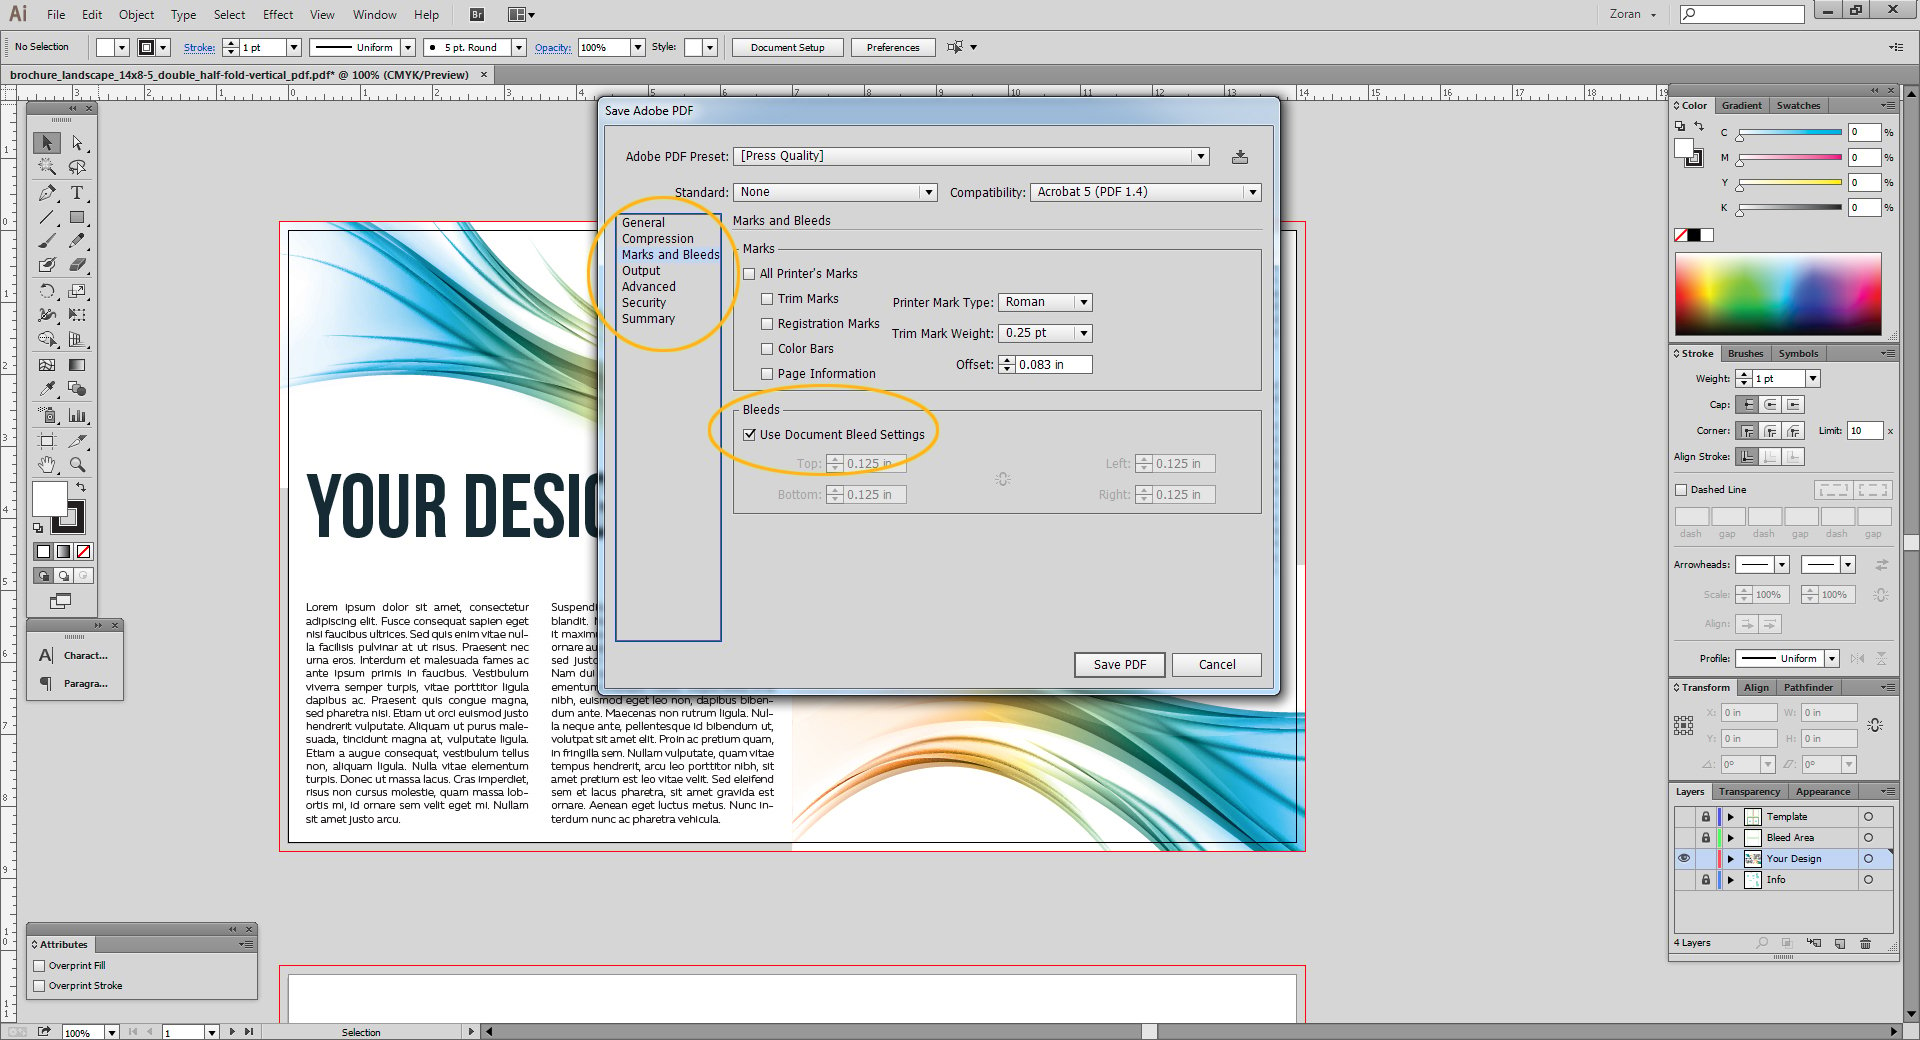
- Then click on the Marks and Bleeds tab on the left side of the dialog box and select the Use Document Bleed Settings option. Then click Save PDF.
The PDF file you've just created is now ready for upload to Newprint website.