Language
 Canada
Assets Gallary
Your reliable printing source - 5s
GIF, PNG, MP4 available
Your reliable printing source - 5s
GIF, PNG, MP4 available
Your reliable printing source - 5s
GIF, PNG, MP4 available
Your reliable printing source - 5s
GIF, PNG, MP4 available
Your reliable printing source - 5s
GIF, PNG, MP4 available
Your reliable printing source - 5s
GIF, PNG, MP4 available
Your reliable printing source - 5s
GIF, PNG, MP4 available
Your reliable printing source - 5s
GIF, PNG, MP4 available
Ten tricks of the trade to turn your manuscript into a professionally printed book
Printing your book is the final and most exciting step in your publishing journey. Seeing your sweat and tears transform into a beautifully printed book is absolutely thrilling.
At Newprint, we have decades of experience in bringing books to life, so we’ve prepared this guide to save you time, money and frustration by helping you understand the nuts and bolts of book publishing.
Over the past five years there's been a 65% growth in self-published books, from 1.6 million in 2018 to 2.6 million in 2023.*
*Alliance of Independent Authors, U.S.
Book publishing continues to grow. In 2024 readers in the U.S. spent $95 billion on books, by 2029 the book market is expected to grow to $110 billion.**
**The Business Research Company
In 2013 self published titles accounted for 53% of all new books. A decade later that number has grown to 87% in the U.S.***
***The Guardian
Table of Contents
1. Start with your audience and your goals
3. Determine your budget and timelines
4. How to convert your word count into page count
5. Understanding layout and design
7. Choosing paper type, weight, and finish
8. Should your book be in color or black-and-white?
1. Start with your audience and your goals
Before we get into the technical details, step back and ask yourself: Why am I printing this book, and who is it for? Your purpose will shape every decision that comes next. For example, a memoir you want to share with family is very different from a novel headed for bookstore shelves.
A children’s picture book needs to be colourful and durable, while a corporate training manual needs to be functional. Here are some common project types and how they might affect your choice of format and print quantity.
- Personal memoir: If you are producing a personal project like a memoir for family and friends, you may want to consider a limited run of 100 to 200 copies, printed with a premium paper stock for keepsake quality. The focus is on durability and quality of presentation rather than keeping per-unit costs low.
- Commercial novel: If you are a fiction writer with a commercial audience, consider a larger run of 500 to 2,000 copies in a standard trade paperback format. The goal is to balance quality with affordability so you can price the book competitively for retail sales. Most novels are now priced in the $25 to $30 range.
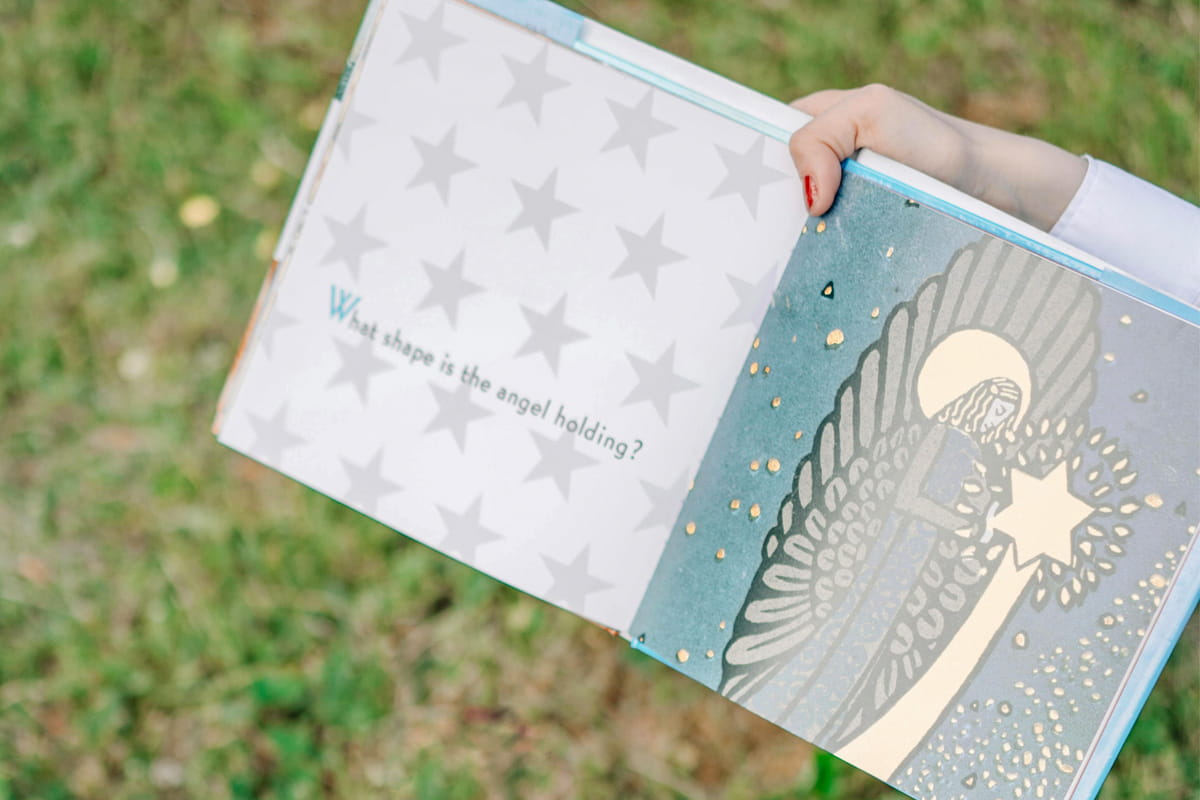
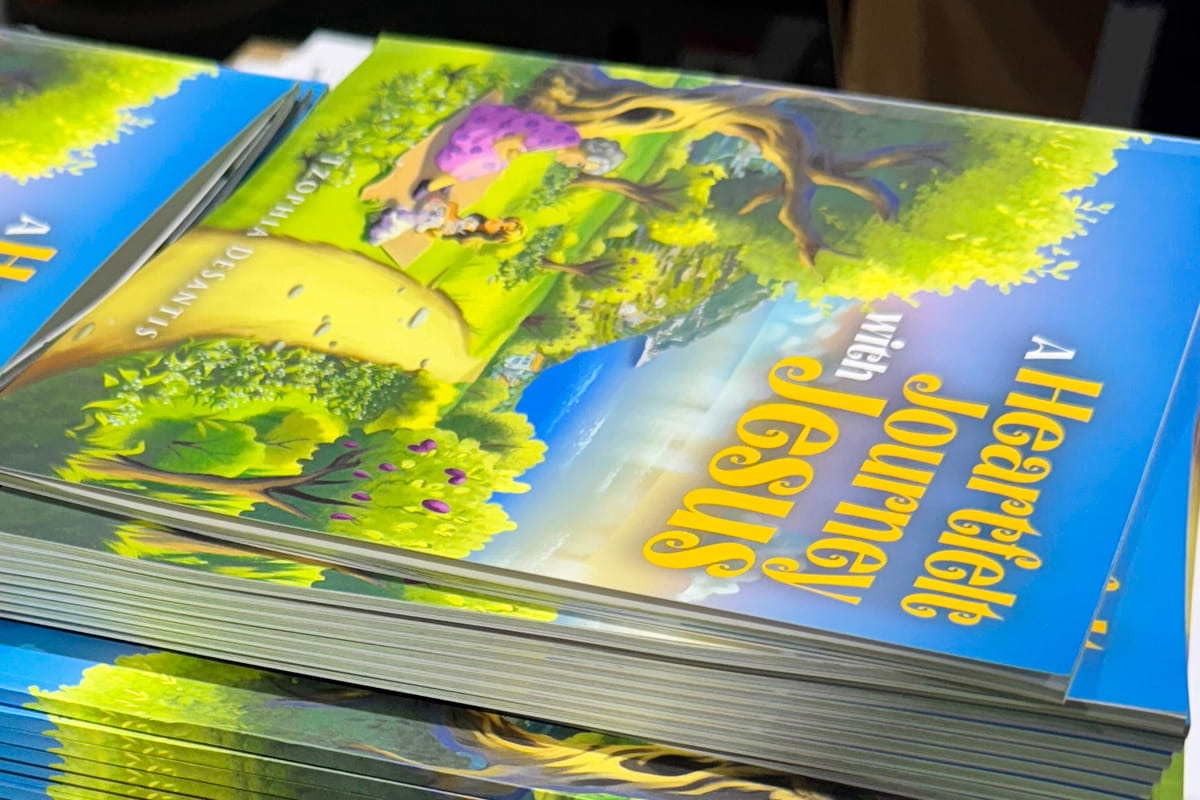
- Children’s picture book: Consider full-colour printing on heavier, coated paper with sturdy binding to withstand frequent handling. Print runs can vary, but high-quality colour reproduction will be a top priority.
- Educational or corporate use: Durability and ease of readability should outweigh other factors.
2. Choose the right format
Book format refers to how your book is physically made. Each format has pros and cons. Be conscious of the fact that there are some standard formats in the industry. For example, fiction books are traditionally 6” x 9”.
Choosing the right format isn’t just about cost, it’s about matching the format to the way your readers will interact with the book. Here’s a breakdown of the most widely used formats and when to choose them.
- Perfect Bound ‘Trade’ Paperback: This is the most common choice for fiction, memoirs, and non-fiction. Think of paperback books that you see at the airport by Stephen King or Agatha Christie. Here are some important numbers to keep in mind as you plan your page count: the average paperback is about 250 pages; that’s about 70,000 words based on 5.5” x 8.5” standard trim size based on 11 or 12 point body text.
- Hardcover: Durable and prestigious, hardcover books are the ‘Cadillac’ of the industry. They are ideal for special editions, coffee-table books, or premium sales. Hardcover books often come with a ‘dust jacket’ which is a colourful wrap to protect the hardcover.
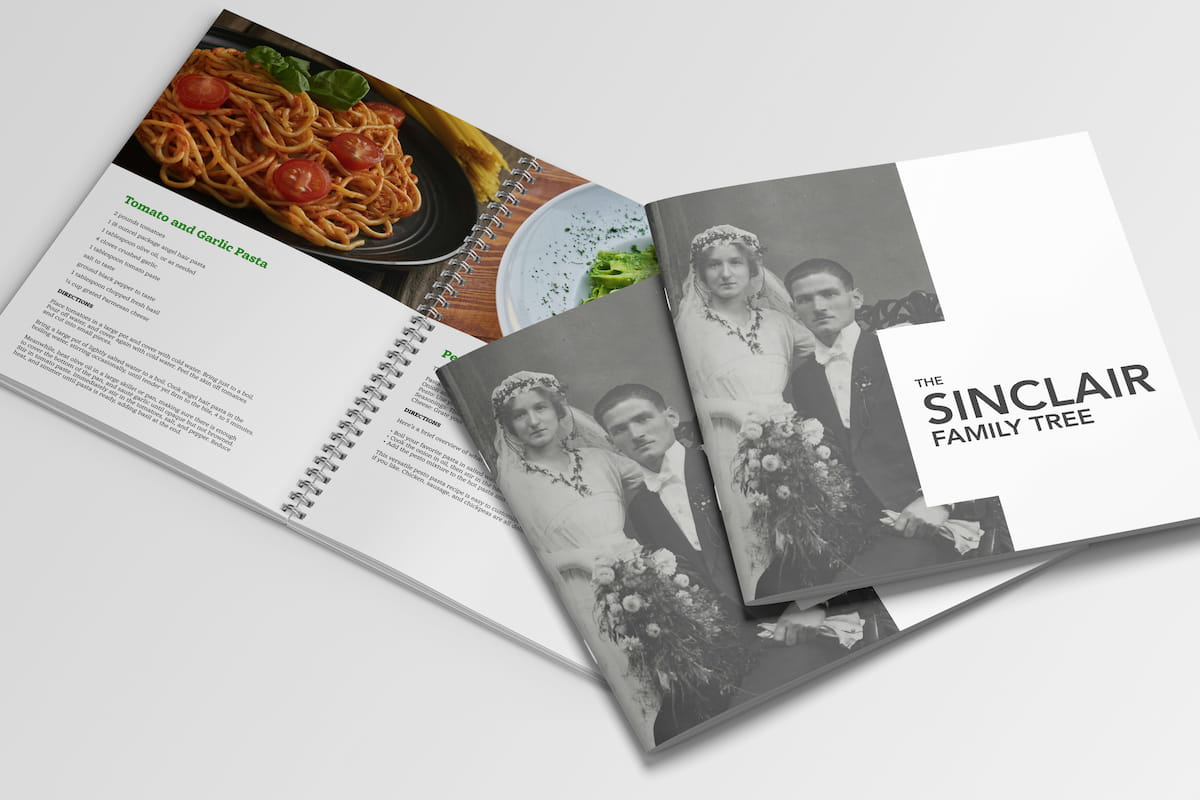
- Coil Bound: This is a type of binding where pages are punched with holes along the spine and held together with a durable plastic or metal coil, allowing the book to lie flat and turn pages easily. This format is practical for workbooks, manuals, and cookbooks that need to lie flat.
- Saddle-Stitched: This bindery option is the most affordable for shorter publications like chapbooks, booklets, magazines, or event programs. In this scenario, the publication is held together by two or three or more staples in the book’s centre spread.
3. Determine your budget and timelines
Publishing a book is a creative process, but it’s also a project with real-world costs and deadlines. Planning your budget and timeline early helps you avoid surprises and ensures your book reaches readers on schedule.
Budget Considerations
Your budget depends on the type of book, production quality, and publishing path (traditional vs. self-publishing). Key expenses include:
- Editing and proofreading – Essential for quality. Costs vary depending on editor experience and manuscript length.
- Cover design – A professional cover can range from a few hundred to several thousand dollars for a high profile artist.
- Interior layout and formatting – Hiring a designer ensures your text and images look professional.
- Printing costs – Determined by page count, paper quality, trim size, and whether printing is black-and-white or color. Print-on-demand (POD) vs. offset printing will also affect unit cost.
- Marketing and distribution – From social media campaigns to book launch events, budget for promotion if you want your book to reach a wide audience.

Timeline Planning
Publishing timelines vary widely but generally follow these stages:
- Manuscript completion – Writing and revising can take months or years. Jack Kerouac famously wrote On the Road in just three weeks in 1951, while J.R.R. Tolkien spent about 16 years to write The Lord of the Rings
- Editing – Line editing, copyediting, and proofreading can take 4–12 weeks depending on manuscript length.
- Design and layout – Cover and interior design often take 2–6 weeks.
- Proofing and revisions – Allow time for reviewing digital proofs and making final adjustments. With modern software, it’s easy to use AI to check spelling and grammar, but always have a human proofreader or two to avoid embarrassing errors.
- Printing – Print-on-demand books can be ready within two weeks, while offset runs may take a few weeks to a few months depending on the number of copies and the schedule of your print partner.
Tips for staying on schedule
- Build in extra time for unforeseen delays, especially if working with freelancers or multiple suppliers..
- Track your budget carefully—costs for editing, design, and printing can add up faster than expected.
- Use project management tools or a simple calendar to map deadlines for each stage.
4. How to convert your word count into page count
One of the most common questions new authors ask is, “How many pages will my book be?” The truth is, page count isn’t just about the raw word count—it also depends on trim size, font, spacing, and formatting choices. Still, it’s not difficult to estimate using the following formula.
A standard industry rule of thumb is that a double-spaced manuscript page in 12-point Times New Roman contains about 250 words. If you’re writing a novel, that means a 75,000-word manuscript will run roughly 300 manuscript pages. Once that text is typeset into book form—say, a 6” × 9” trade paperback—the printed page count could range anywhere from 280 to 350, depending on design.
Here are some quick benchmarks to keep in mind:
- Short story/novella (20,000–40,000 words): About 80–160 printed pages
- Standard novel (60,000–90,000 words): About 240–360 printed pages
- Epic novel (100,000+ words): 400+ printed pages
Other formats follow different conventions:
- Children’s books often have lower word counts because illustrations carry part of the story. A picture book might be under 1,000 words and still run 32 pages, while middle-grade novels typically range between 20,000 and 40,000 words (about 100–160 printed pages).
- Young adult (YA) novels are closer to adult fiction in length—usually 50,000 to 80,000 words.
- Nonfiction and technical books vary more widely. A business guide might be 40,000–60,000 words (roughly 160–240 pages), while a dense academic or technical manual could exceed 100,000 words and be heavily formatted with charts, tables, and references—factors that increase page count beyond the word total.
- Memoirs tend to run between 60,000 and 80,000 words, similar to a novel, though design choices (photos, sidebars, timelines) can expand page count.
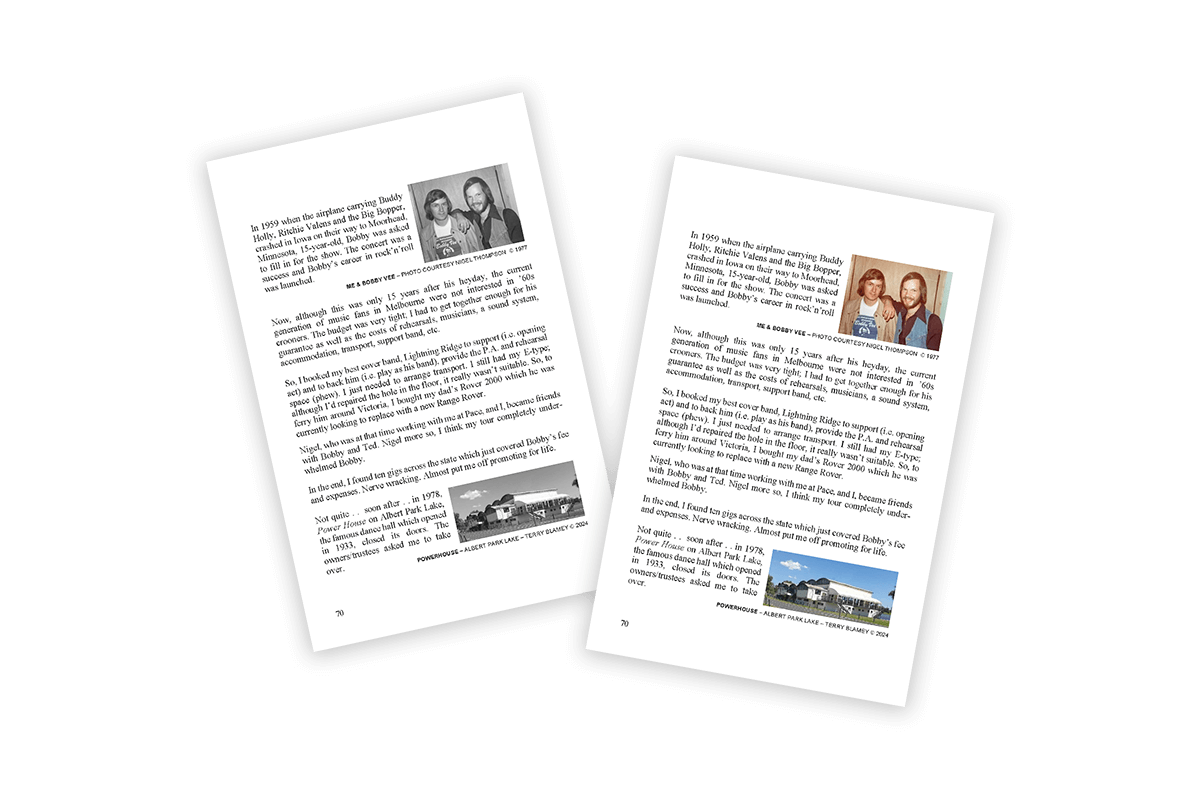
5. Understanding page layout and design
Once you know your approximate page count, the next step is laying out the book itself. Layout and design affect not only readability but also how professional your book feels to the reader. Choices around trim size, margins, line spacing, and chapter headings all contribute to the overall look. A clean, consistent layout signals quality and makes the text inviting to read, while poor formatting can distract or even turn readers away.
At Newprint™, we can design your book, and/or print your book from your supplied files. If you are doing the design yourself, here are some of the software programs you may want to consider.
Software programs for designing books
|
|
Adobe InDesign | The industry standard for professional book design, offering complete control over typography, layout, and image placement. |
|
|
Affinity Publisher | A lower-cost alternative to InDesign with many of the same features. |
|
|
Microsoft Word | While not a design program, many authors draft and format basic manuscripts here, especially for eBooks. |
|
|
Vellum (Mac only) | A favorite among self-publishers for its ease of use and polished templates, particularly for eBooks and print-on-demand. |
|
|
Atticus | Writing tools with built-in formatting options that streamline the draft-to-book process. |
|
|
Scrivener | Writing tools with built-in formatting options that streamline the draft-to-book process. |
Choosing the right software depends on your publishing path. Traditional publishers will often reformat your manuscript in-house, but for indie authors, user-friendly design programs can save you time and money..
6. Choosing fonts and images
Typography sets the tone of your book. Serif fonts (like Times New Roman, Garamond, or Minion Pro) are typically used in print because they’re easy on the eyes for long reading sessions. Plus, these are traditional fonts that many newspapers and magazines use, so readers are familiar with their look.
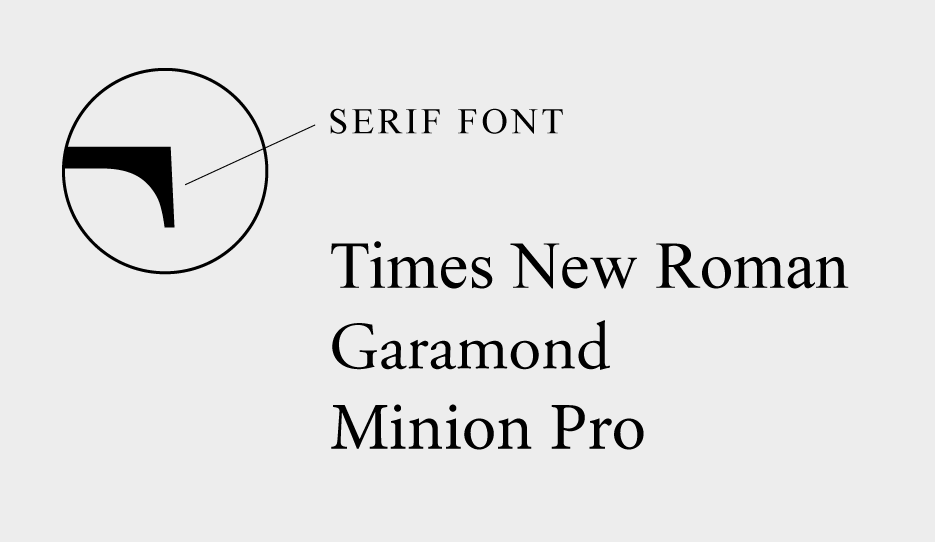
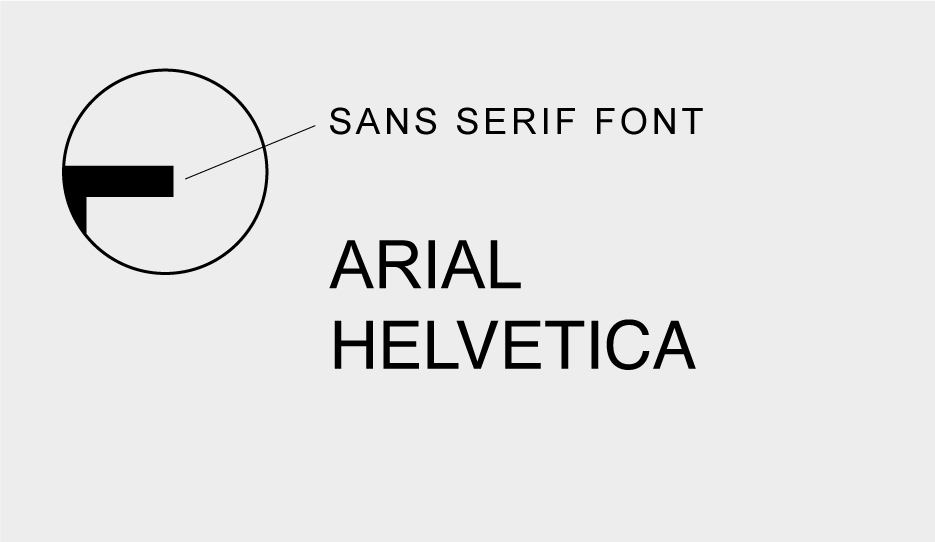
Sans serif fonts (like Arial or Helvetica) are better suited for headings, digital formats, or design-heavy books. Consistency is crucial—limit yourself to two font families (one for body text, one for headings).
Images, charts, and illustrations add another layer. In children’s books, images often carry the narrative. In nonfiction, charts and diagrams may clarify complex ideas. Always ensure that images are high resolution (at least 300 dpi for print) so they reproduce clearly. Poor-quality images can make an otherwise strong book look amateur.
7. Choosing paper type, weight, and finish
Paper isn’t just what your book is printed on—it shapes the reading experience. The stock type, weight, and finish you choose will influence both how your book feels in the reader’s hands and how much it costs to produce.
Paper Colour
- Cream (or off-white) is most common for novels and memoirs. It’s easier on the eyes and gives a warm, professional look.
- White is often used for nonfiction, technical books, and anything with charts or images, since it provides higher contrast.
Paper Weight
Measured in pounds (U.S.) or grams per square meter (gsm), paper weight refers to thickness and sturdiness.
- 50–60 lb (70–90 gsm) is standard for most trade paperbacks.
- 70–80 lb (100–120 gsm) is thicker and more durable, often used for photo-heavy books or premium editions.
- Gloss-coated stock (heavier weights) is used in art books, cookbooks, or children’s picture books where images must pop.

Finish
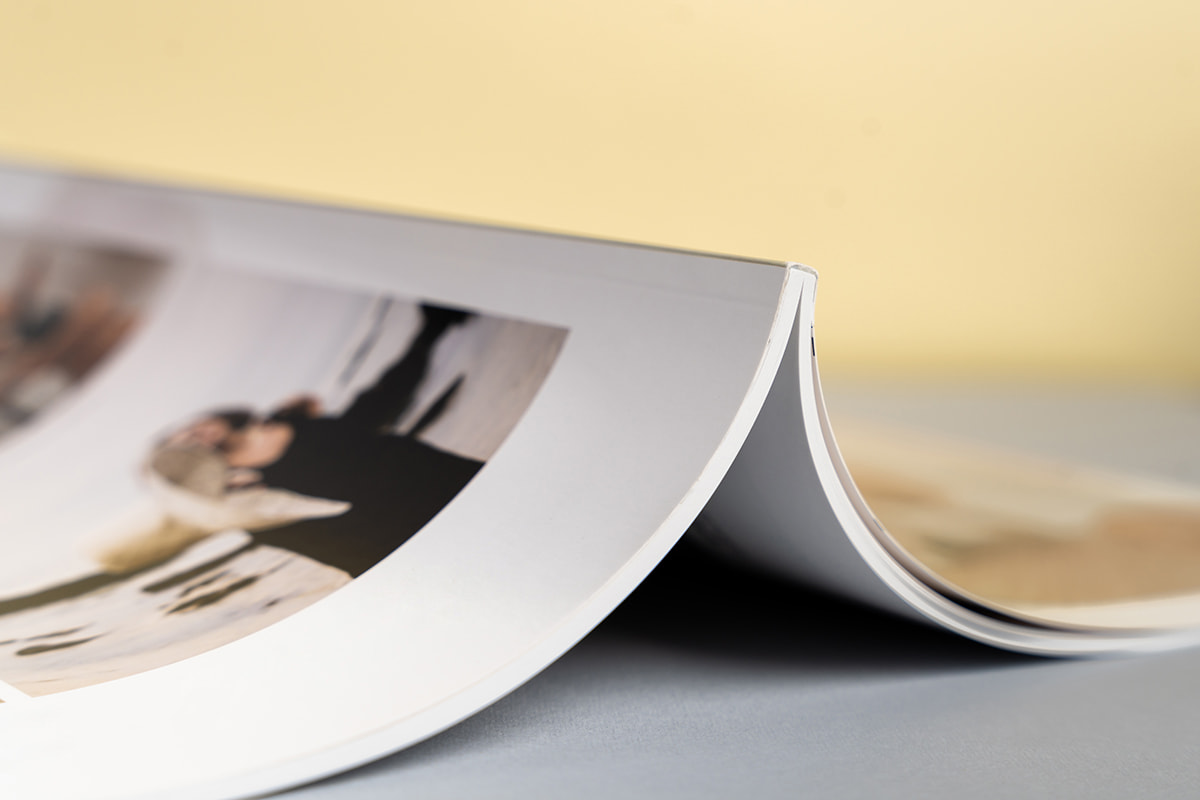
- Matte has a smooth, non-reflective surface—popular for fiction and literary works.
- Glossy provides shine and makes colors more vibrant, ideal for photo books or covers with strong visuals.
- Uncoated paper offers a more natural feel, often chosen for journals or workbooks where readers may write on the page.
The right combination depends on your book’s purpose. A novel will feel natural on cream 55 lb matte paper, while a cookbook or art title needs heavier, glossy stock to showcase images. Always balance aesthetics with budget—heavier and coated papers increase printing costs and shipping weight.
8. Should your book be in color or black-and-white?
One of the biggest decisions in book production is whether to print in full color or stick with black and white. The choice affects not only aesthetics but also cost because color printing can be several times more expensive than black and white.
Black and white
Most novels, memoirs, and narrative nonfiction are printed in black and white. The text is the focus, and black ink on cream or white paper provides maximum readability at the lowest cost. Even if a book contains occasional images, many authors choose to keep them in grayscale to avoid the jump in production expense. Of course, for the novel’s cover, it’s always recommended to print in full colour with a heavy stock to give the book weight and so that it stands out on the bookshelf. Remember, people do judge a book by its cover, so plan your book cover image and back cover ‘sales pitch’ carefully!

Color
Color printing is essential when visuals play a central role in the book. Use colour inside the book for the following formats:
- Children’s picture books rely on vibrant illustrations to tell the story.
- Cookbooks use full-color photos to showcase recipes and entice readers.
- Art, photography, or design books require color accuracy to reproduce the creator’s work faithfully.
- Textbooks and technical manuals may use color charts, graphs, or diagrams to make complex information clearer.
Hybrid Options
Some books benefit from a mix. For example, a memoir might include a central section of glossy color photos,
while the rest of the text remains black and white. Many print-on-demand services allow this, but it can add to
cost and requires careful planning in layout.
Bottom line: If your book depends on images to deliver its
message, full color is worth the investment. If your story lives in the words alone, black and white is the
standard, reader-friendly, and budget-conscious choice.
9. Preparing your print-ready files for the printer
If you’ve chosen to design your book yourself, once your manuscript is fully edited, formatted, and designed, the next step is creating print-ready files for your printer. These files ensure that your book looks exactly as intended in print and helps avoid costly delays or errors.
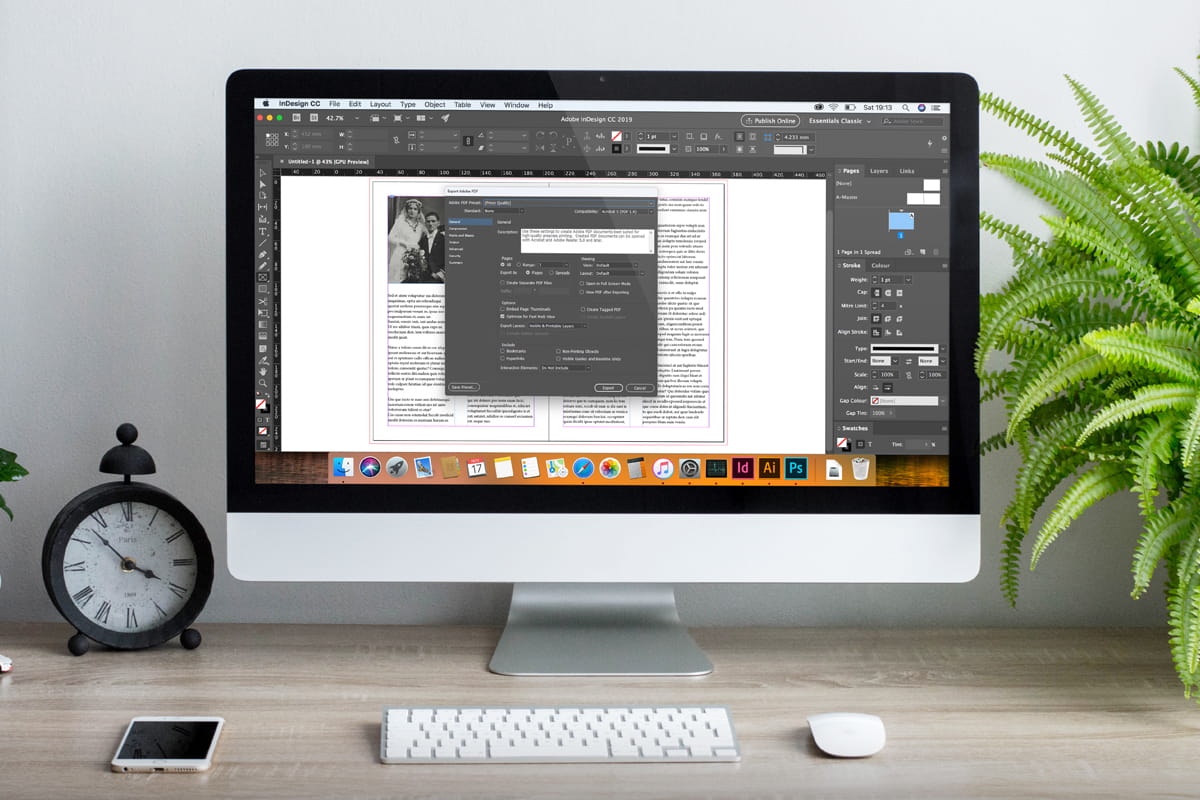
File Format
Most printers require PDF files with embedded fonts and high-resolution images (at least 300 dpi). PDFs preserve your layout, fonts, and spacing, so what you see on screen is what gets printed. Some printers may also accept InDesign or other design files, but PDFs are the universal standard.
All professional graphic design programs will allow you to export your file to the PDF format.
Margins and bleed
- Margins: Ensure that all text and images stay within the safe area, usually about 0.5–0.75 inches from the edge. This prevents text from being cut off during trimming.
- Bleed: For images or backgrounds that extend to the page edge, add a bleed (commonly 0.125–0.25 inches). This ensures that there are no white borders after trimming.
Resolution and color
- Images should be 300 dpi for crisp print quality. Lower-resolution images appear blurry or pixelated.
- Color mode: Printers use CMYK, not RGB, so convert all images and graphics to CMYK to avoid unexpected color shifts.
Page order and spreads
Make sure your pages are in the correct order. If your book has spreads (e.g., picture books), confirm that left- and right-hand pages are aligned properly. Double-check that your front matter, chapters, and back matter appear in the right sequence.
Proofing
Before sending the final file to the printer, create a digital proof or print a mock-up. Review for typos, layout issues, and image placement. Catching errors in the proofing stage is far cheaper than reprinting.
10. How to choose the right expert for your project
Whether you decide to choose Newprint™ or another supplier, we encourage you to find a reputable, professional designer and printer to ensure that your book looks polished and reads smoothly.
Why you need an expert
- Professional quality – Designers know how to balance typography, margins, and images for readability and visual appeal. A professional layout makes your book feel credible and trustworthy.
- Print-ready accuracy – Print experts understand specifications like trim size, bleeds, CMYK color conversion, and resolution. Their expertise reduces errors that can lead to wasted time and money.
- Time savings – Learning design software, formatting guidelines, and print specifications can be time-consuming. An expert allows you to focus on writing while they handle technical details.
- Market advantage – A well-designed cover and interior can make your book stand out on shelves and online. Good design can directly influence sales and reader engagement.
How to Find the Right Expert
- Referrals and recommendations – Ask other authors, publishing groups, or writing communities for trusted professionals.
- Portfolios – Review previous work to see if their style aligns with your vision. Pay attention to readability, image quality, and overall polish.
- Experience with your book type – A designer who specializes in children’s books may not be ideal for a technical manual, and vice versa. Look for relevant experience.
- Communication and reliability – Clear communication is key. Make sure they understand your deadlines and are responsive to questions and revisions.
- Budget alignment – Get quotes upfront. While hiring a professional is an investment, it often saves money in the long run by avoiding errors and reprints.