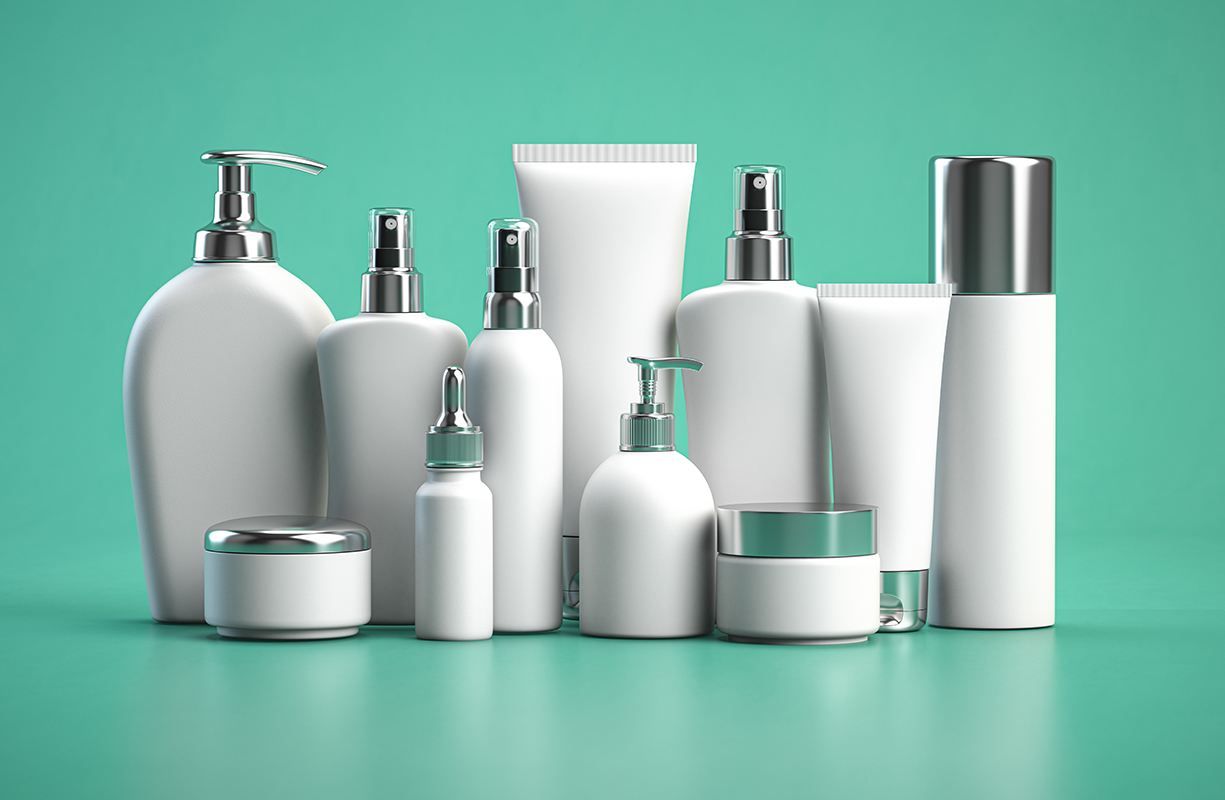
Product packaging design is an integral part of any business that sells products. It's how consumers learn about your products and help customers remember your brand. But creating product packaging is not just about the design. It includes several steps you should be aware of. And some of them should come before the designing stage, as they will affect the design.
Steps for Creating Product Packaging
Find a Custom Packaging Supplier
We are living in the digital era. It is now easier than ever to do your research before making the final decision. You can research available packaging suppliers and find the one you think has the expertise and resources needed to make your packaging. Just make sure you don't get lost in the information overload. You don't have to research them all. You need a printer that specializes in custom packaging. It is a big plus if they have an easy-to-understand online ordering process, templates, and a price calculator. This will help you get a general idea about the budget you will need to create packaging for your product. If you already know what you need and have the design ready, it might be possible to order it online without emailing the printer. But if this is not the case, don't worry. Your packaging supplier will help you go through the ordering process as easy as possible.
Let Your Printer Know About the Company and the Product
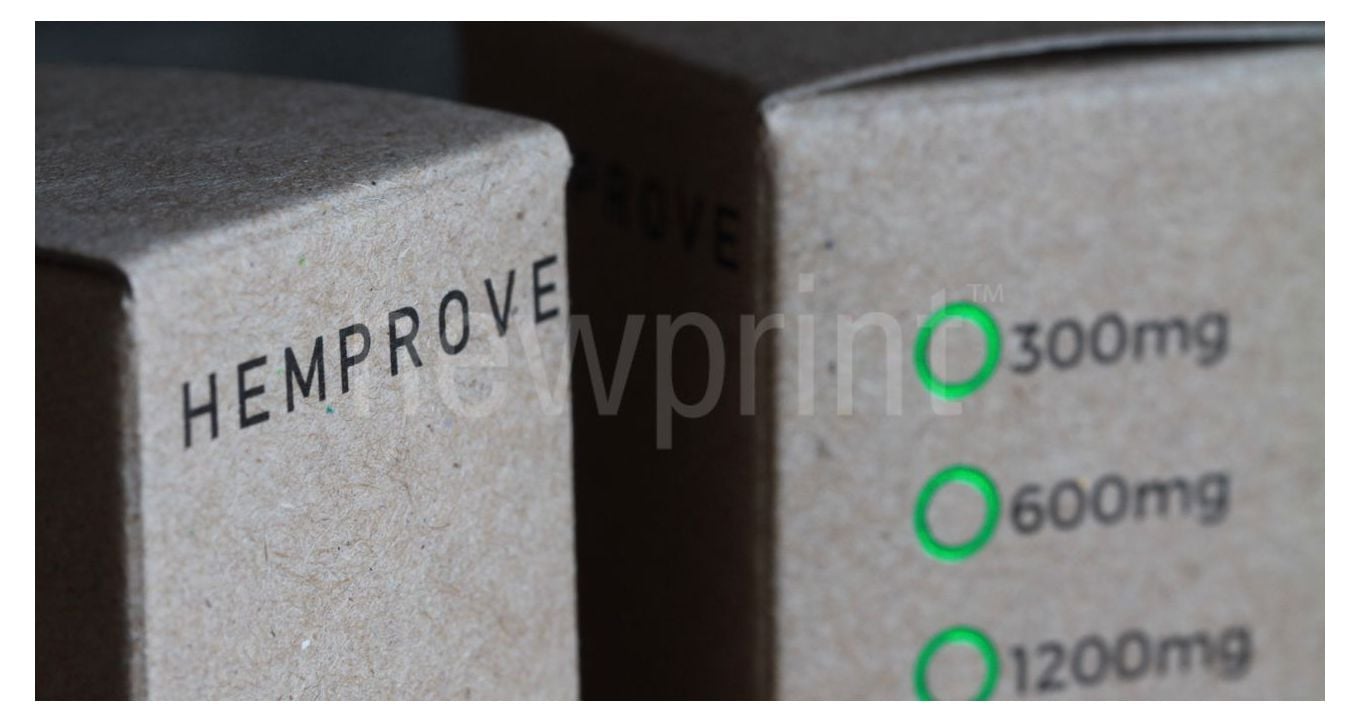
When creating your product packaging, you should ensure that it reflects your company and the product. To ensure everything is just as it should be, you must let your supplier know who you are, what you do, and what your product is. This will help them suggest the best options tailored to your company's needs. This is especially true if you decide to use their design services. For the designer to do their job right, they must have all the important information. Their suggested design will depend on the purpose of the product, your target audience, and the price. Different categories of products demand different approaches to design, materials, and embellishments.
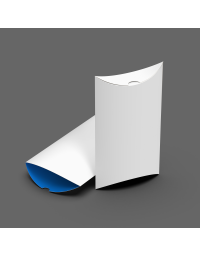
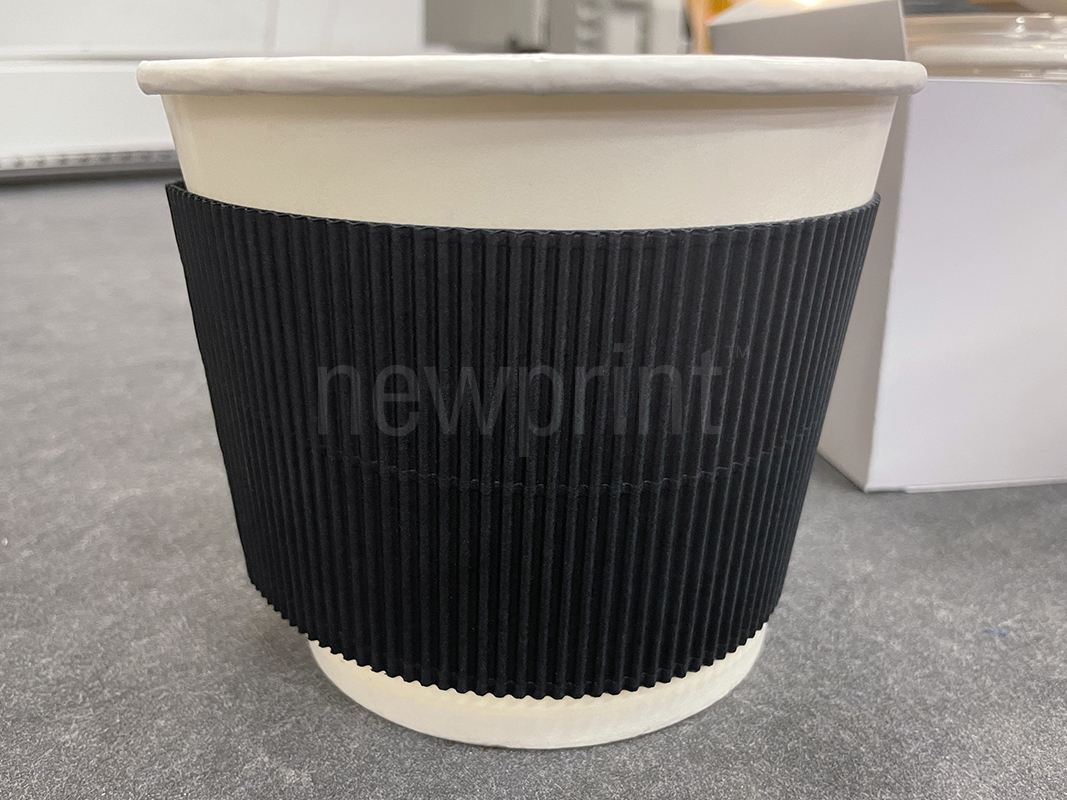
Measure the Size and Weight of Your Product
This will affect the possibilities for your custom packaging. For example, oversized and heavy products need more rigid packaging than light ones. If the product is fragile, it will probably need some paper inserts to keep it safe. Also, if the product's shape is unusual, you will need more customization to make the packaging that fits.
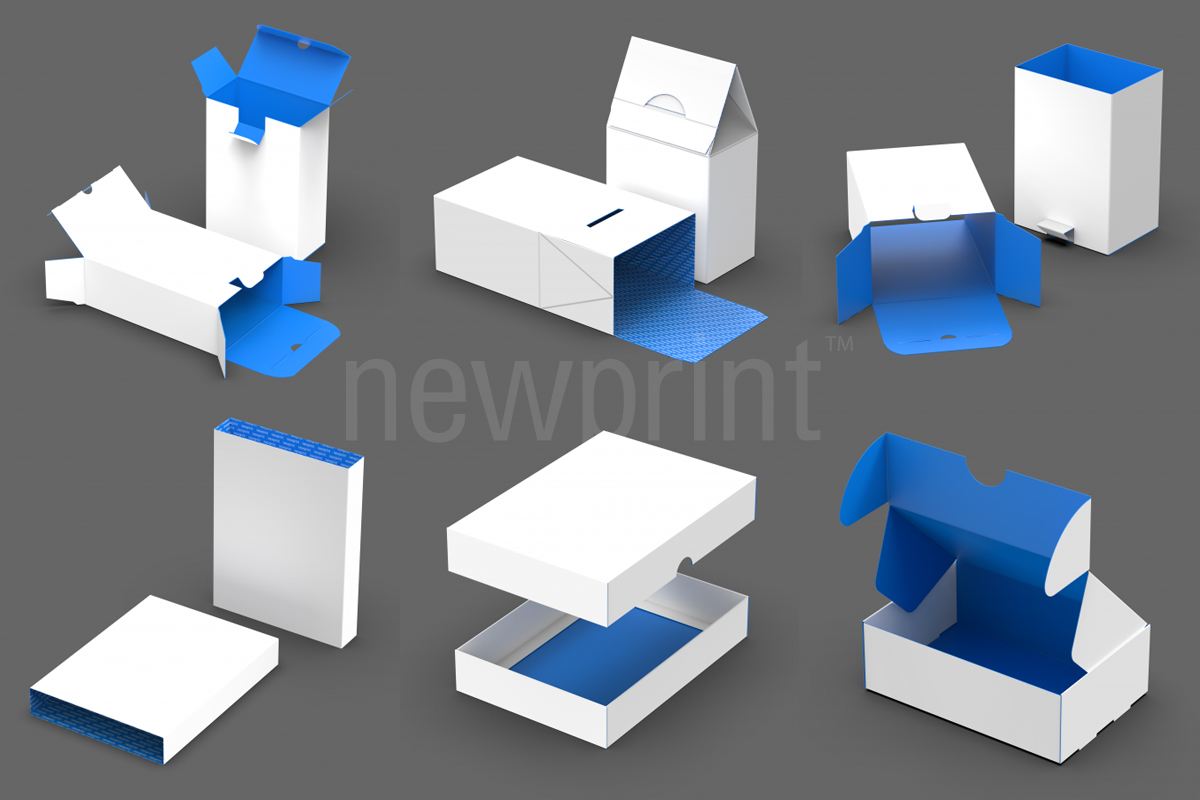
Let Your Printer Know What Type of Packaging You Have in Mind
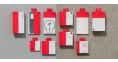
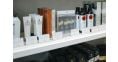
The display method will affect the type of the box. Will it be shelved? Will it hang?
You can send a sample of your product to your printer so they can suggest the box type, size, and paper. You should also let them know what the planned budget for the project is. They are probably more experienced than you with pairing products with the proper packaging.
Sometimes our wishes prove to be less than ideal solutions, and it is good to have professionals around to help us choose. And being aware of the budget helps their suggestions be in the right price range. They know their boxes inside and out and might offer some options you were unaware of. This is just why having a long-term relationship with your printer is a good idea. With time they get to know your needs and your products, so they are better equipped to pair them with that perfect custom box you are looking for.
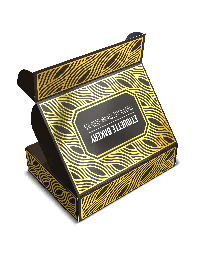
Decide If You Want Embellishments
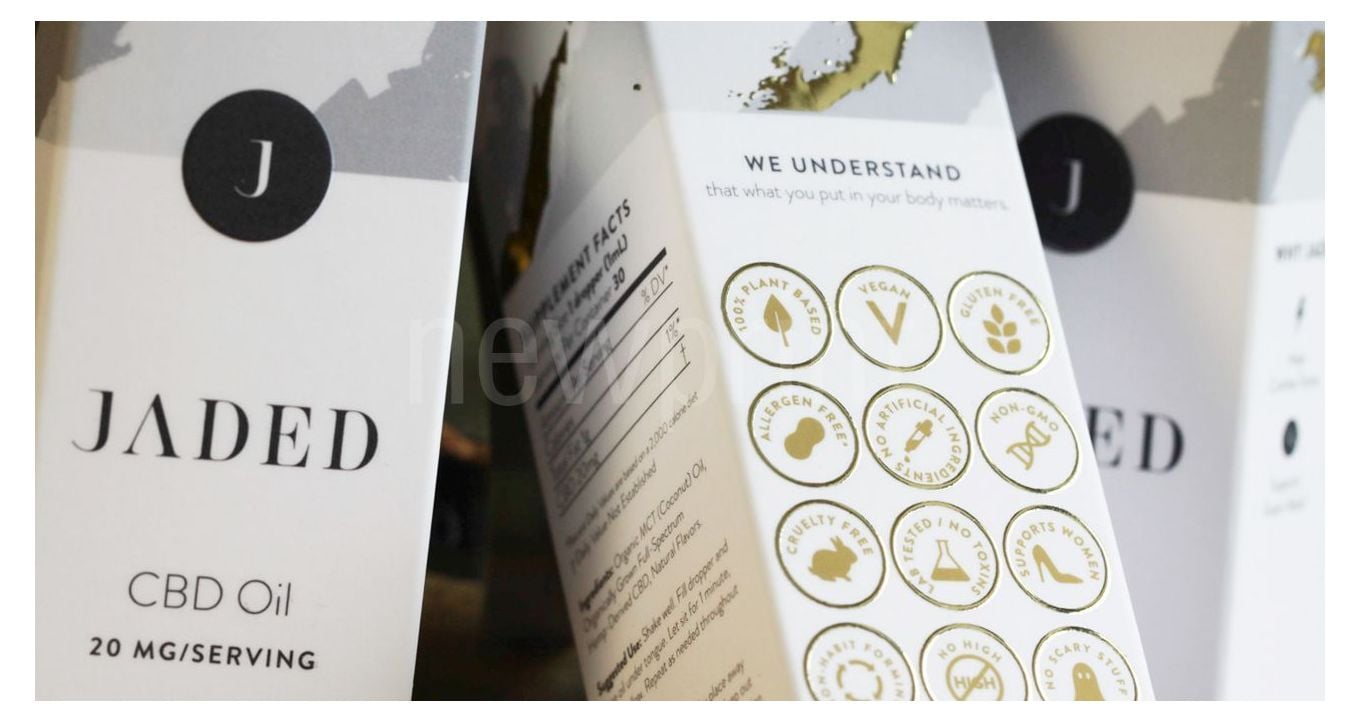
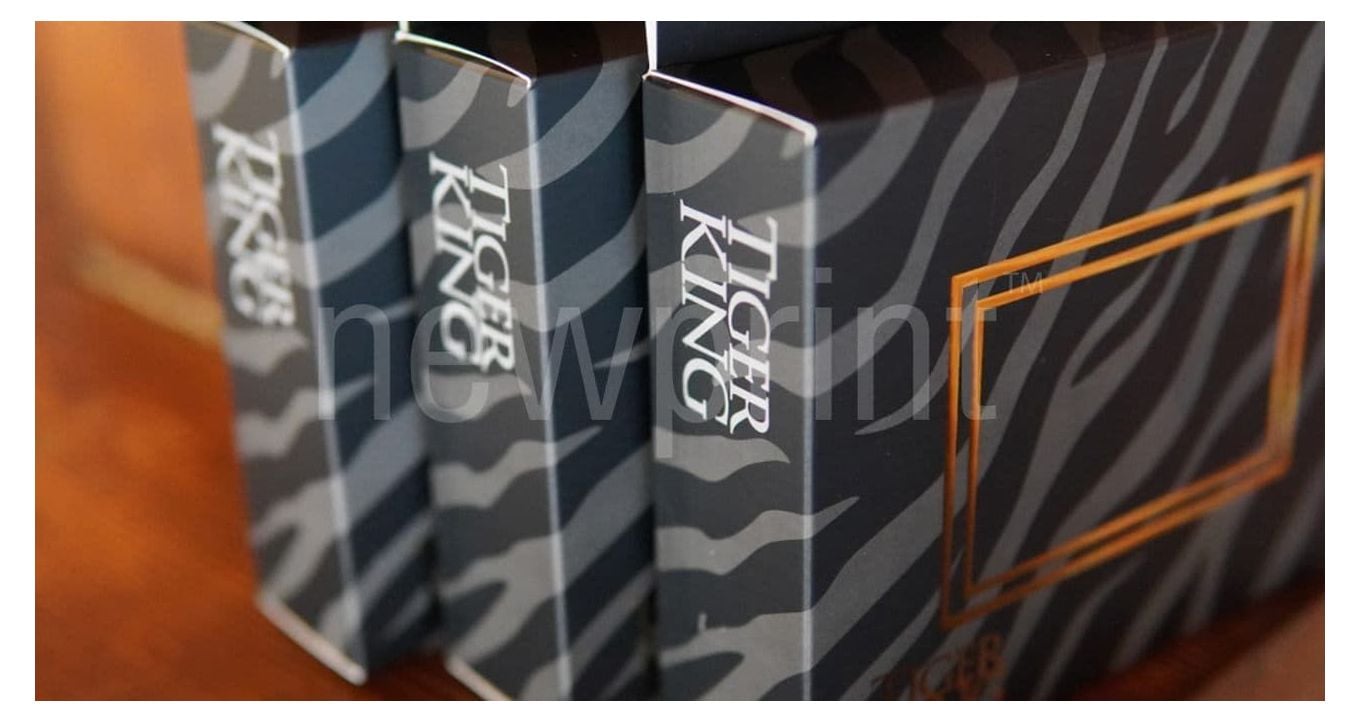
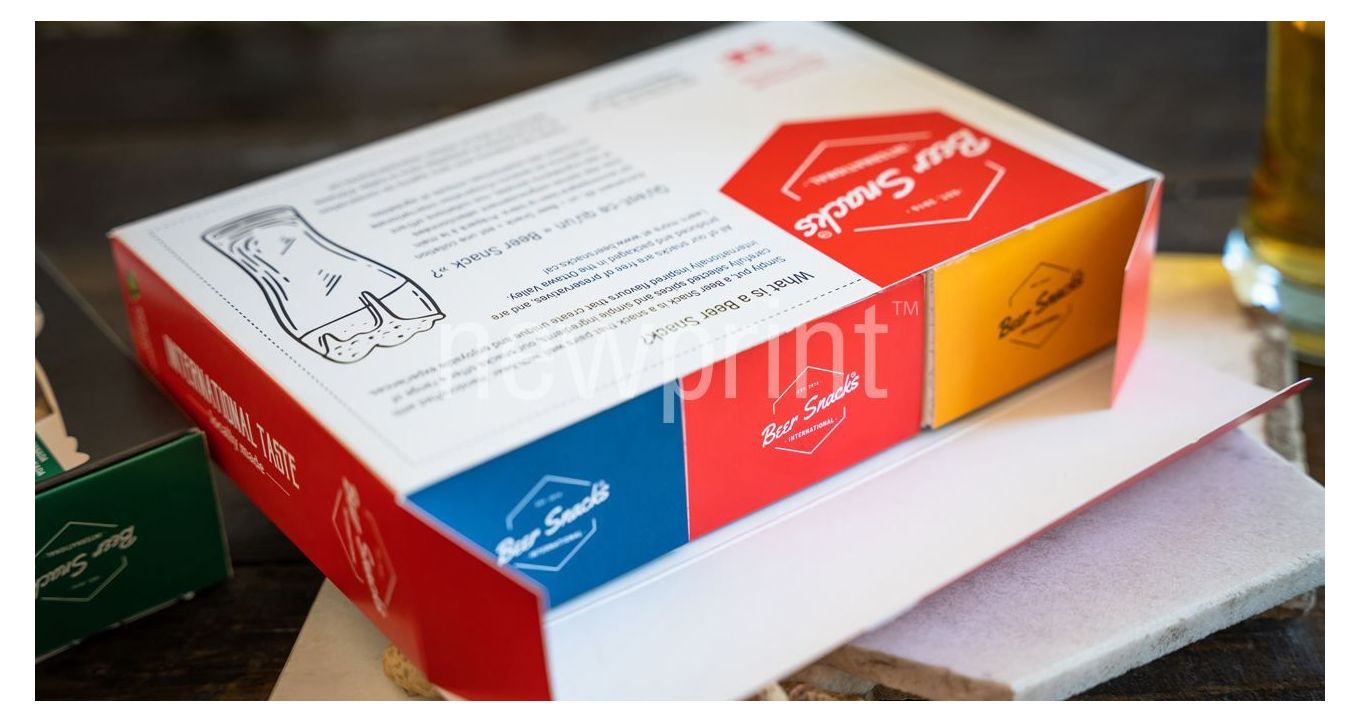
You should have the paper, box type and print quantity figured out at this point. But you should also decide if you want any embellishments on your packaging. Although there are many options, the most popular are foiling and embossing. It might seem this comes after the design stage, and in part, it does. You do not need to know the exact position of embellishments at this stage. But you should have a general idea of what you want. These details are necessary for your printer to provide a quote for the entire project. Keep in mind that the purpose of the product and the price range greatly influence this decision. You want your high-end product to have elegant and expensive-looking packaging that will attract the right kind of customers. But on the other hand, if your product should be affordable, you don't want your target audience to perceive the packaging as too exclusive for them. If you are not sure how some embellishment looks, you can ask your printer for samples.
The rest of the process can be different depending on the print supplier you decide to work with, but we will explain the steps in case Newprint is the company creating your paperboard retail packaging.
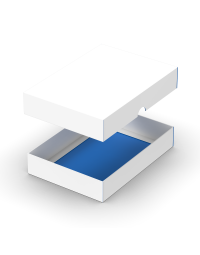
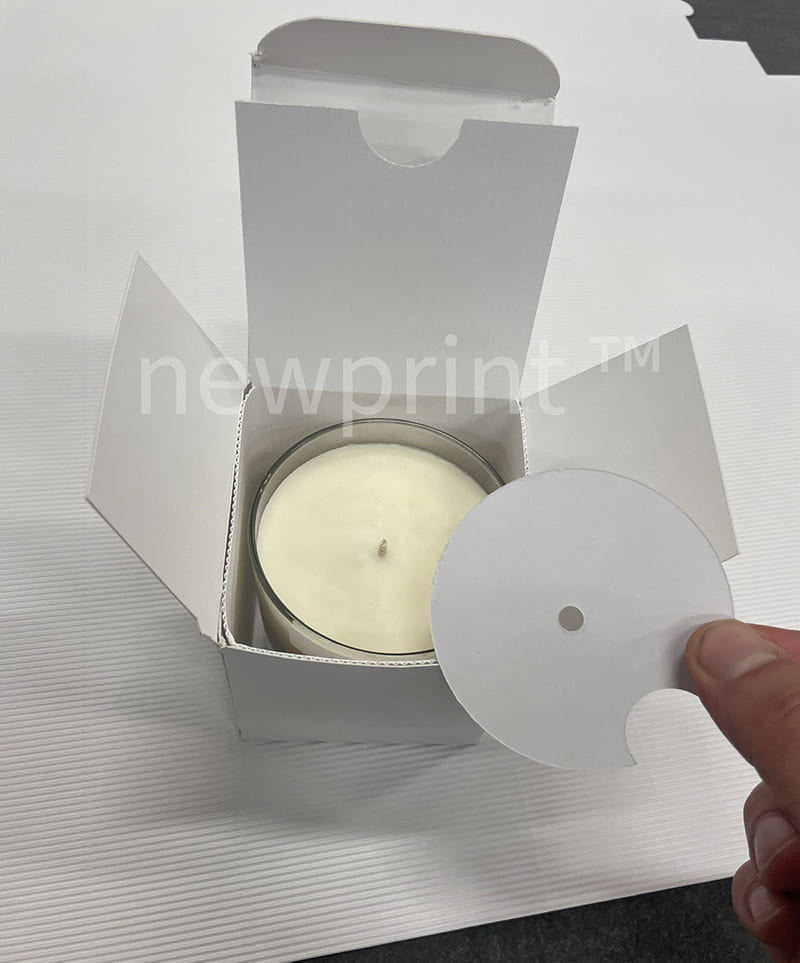
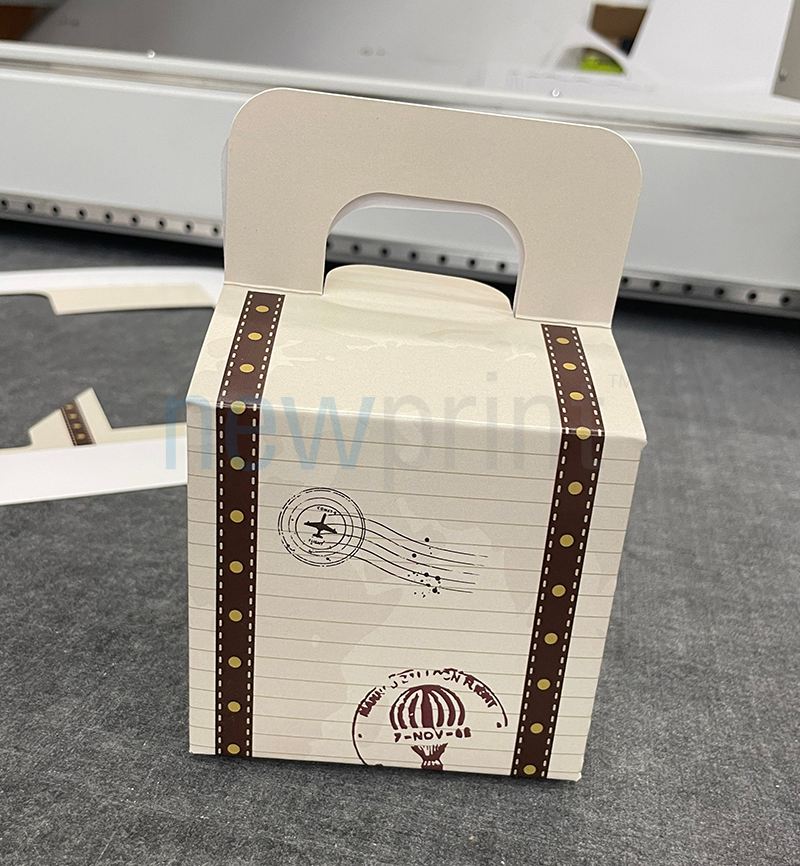
Test and Approve the Prototype
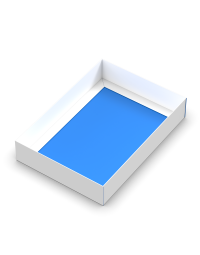
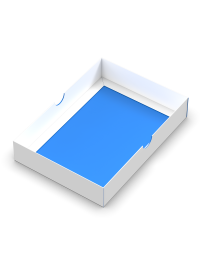
Once we have all the required information (box type and size are set, and you have decided about the print embellishments), you will get the quote. After you approve the quote, Newprint will create a prototype of your box. This enables you to test if the product fits inside the box. All box size and shape alterations should be done in this stage.
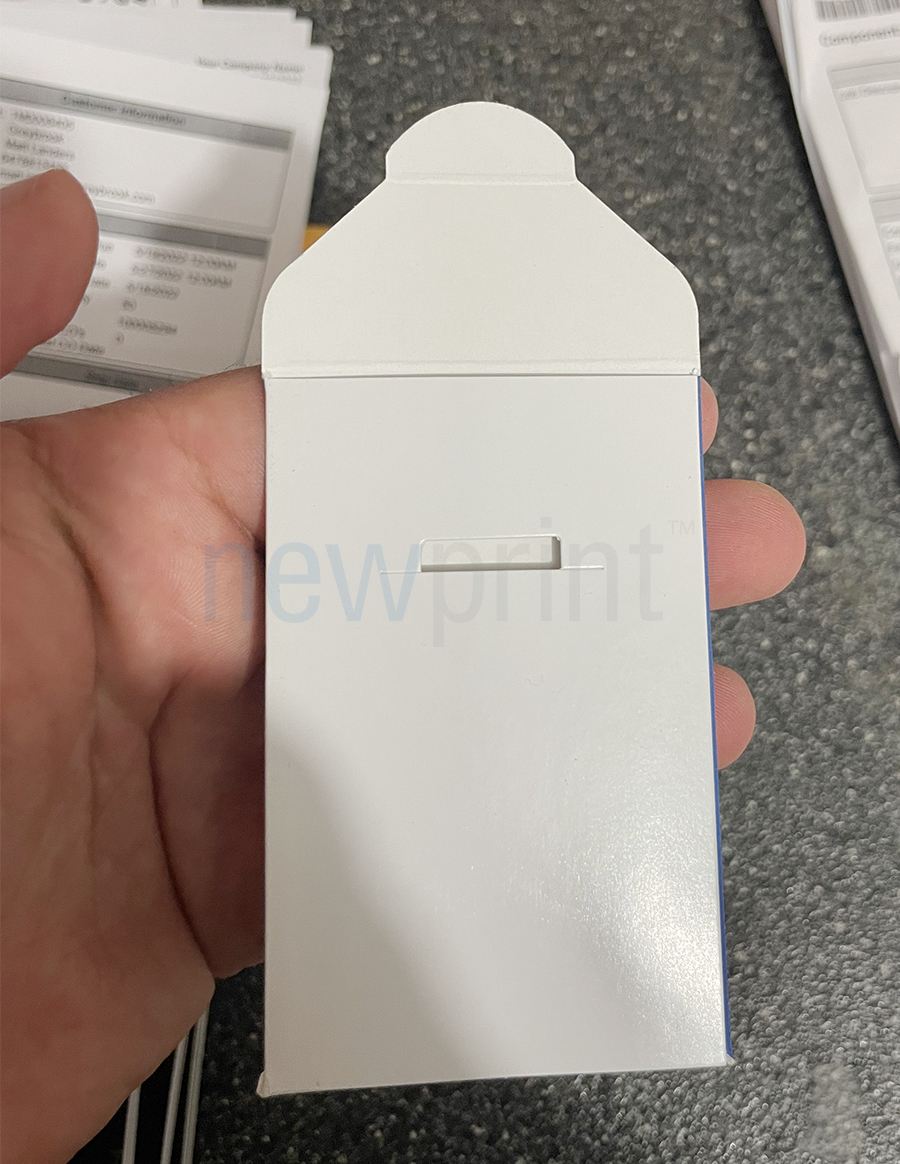
The first thing we all probably think about is making sure the package is not too small. But you should also make sure that it is not too big. Having a custom box that is too big is an unnecessary cost. If the product is too loose inside the packaging, it can be damaged during transport. This means having to use too much packaging fillers to avoid the damage. And it will also take more storage space than necessary. You will avoid these problems with a box that fits perfectly or as close to that as possible. This is important when creating product packaging, as custom boxes' purpose is to make them fit just right.
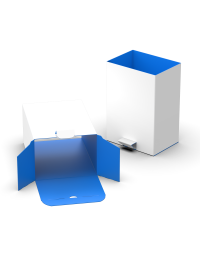
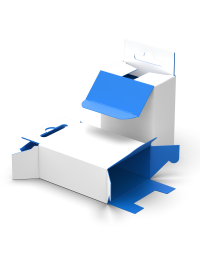
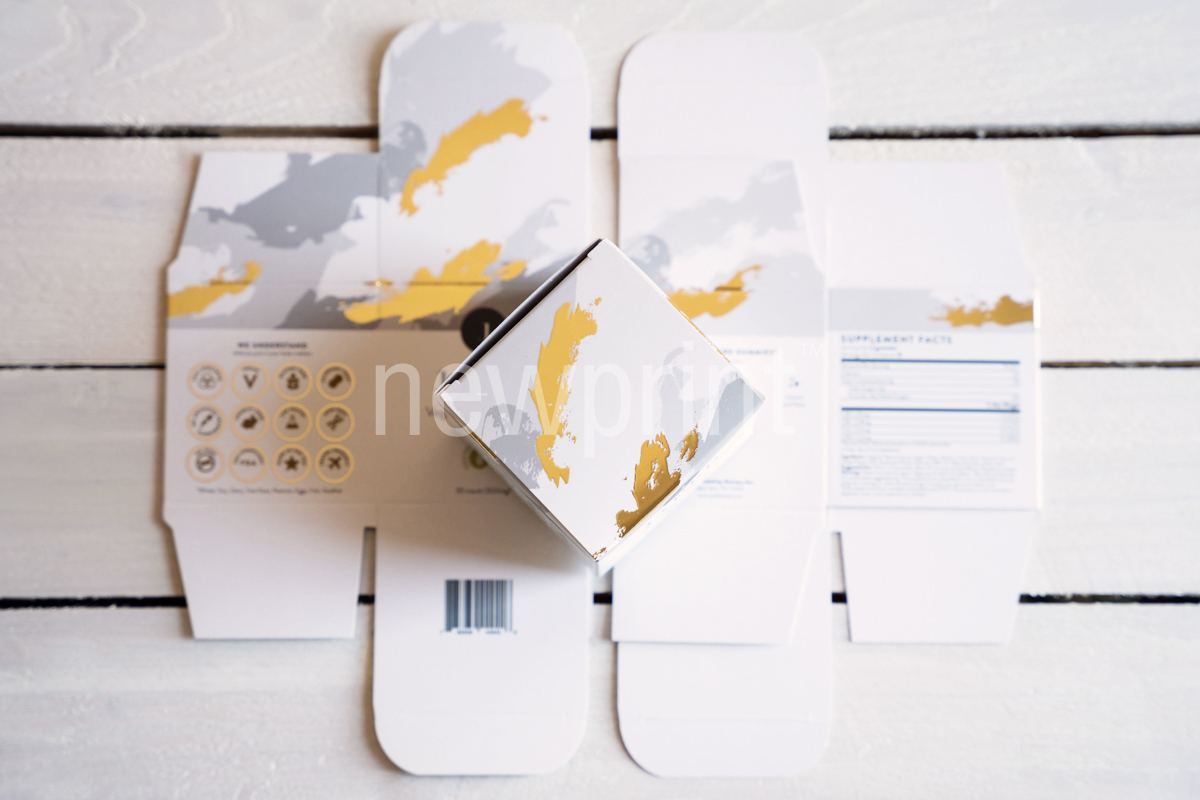
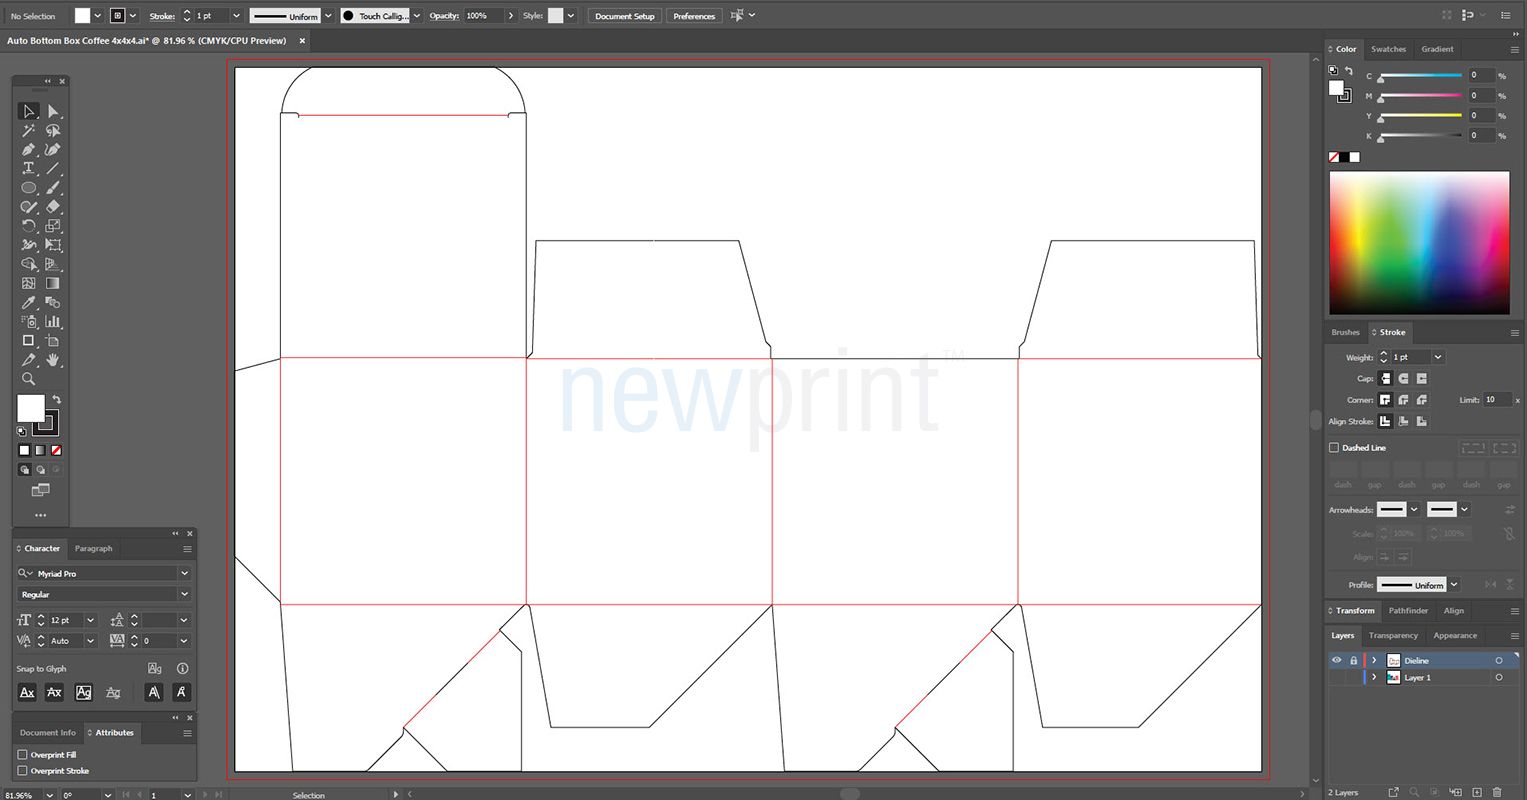
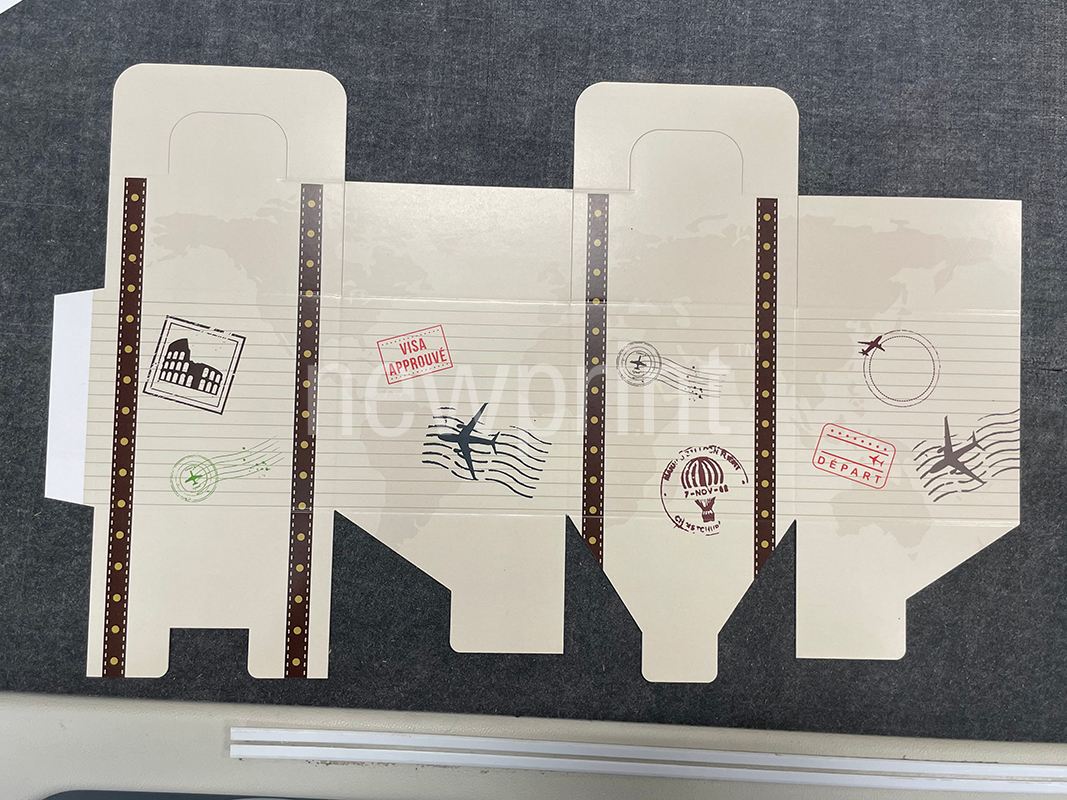
Get the Dieline
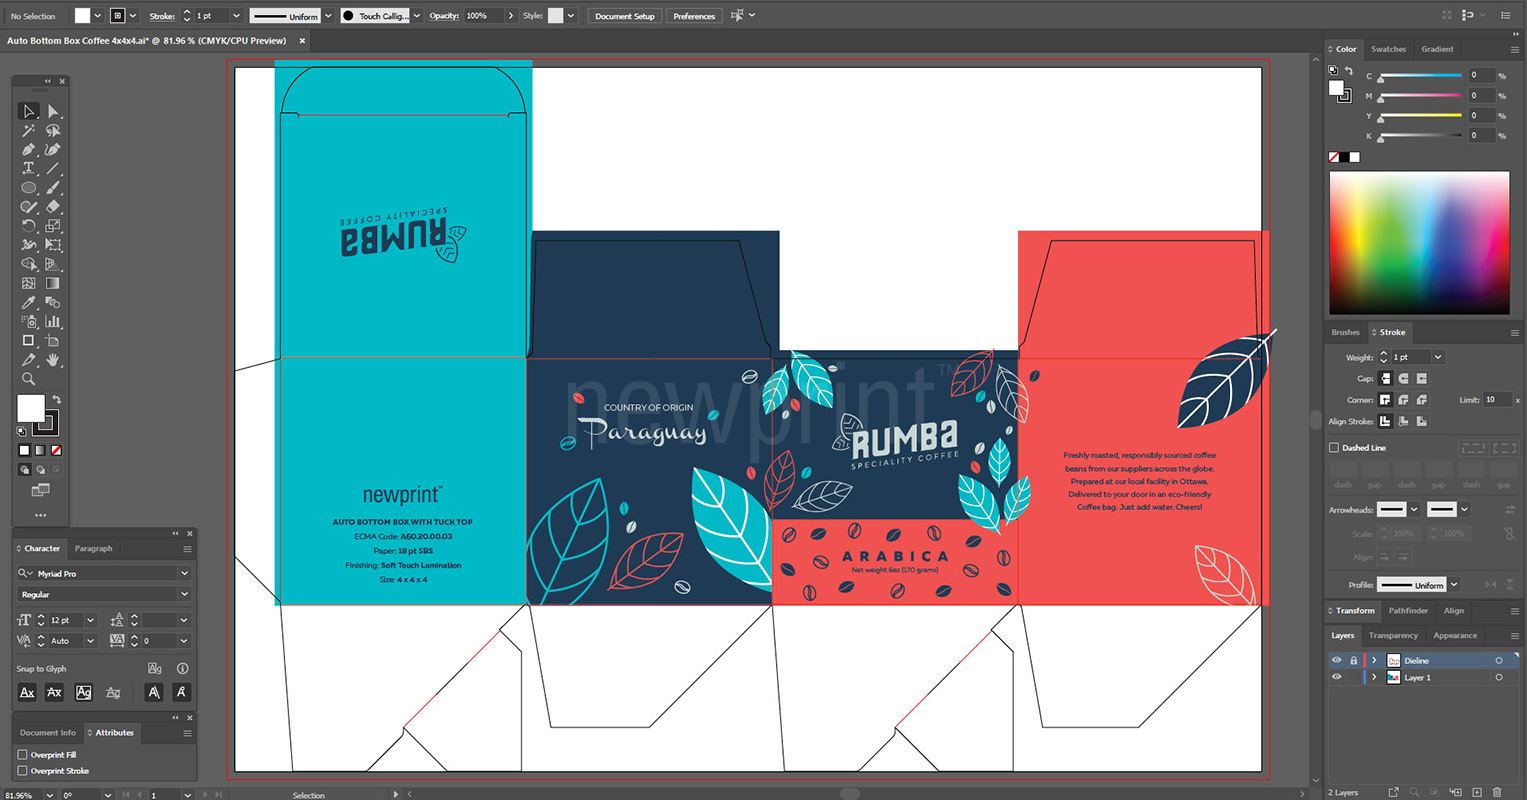
Once the prototype has been tested and approved, you will get a dieline file you and your design team can use to create a design for your custom packaging. Newprint has an extensive base of dielines for the most used sizes. But, you don't have to worry if your box is one of a kind. We will create the dieline just for you. If you need help with your design, we also provide design services. Our design team will work with you to design the paperboard box you will love.
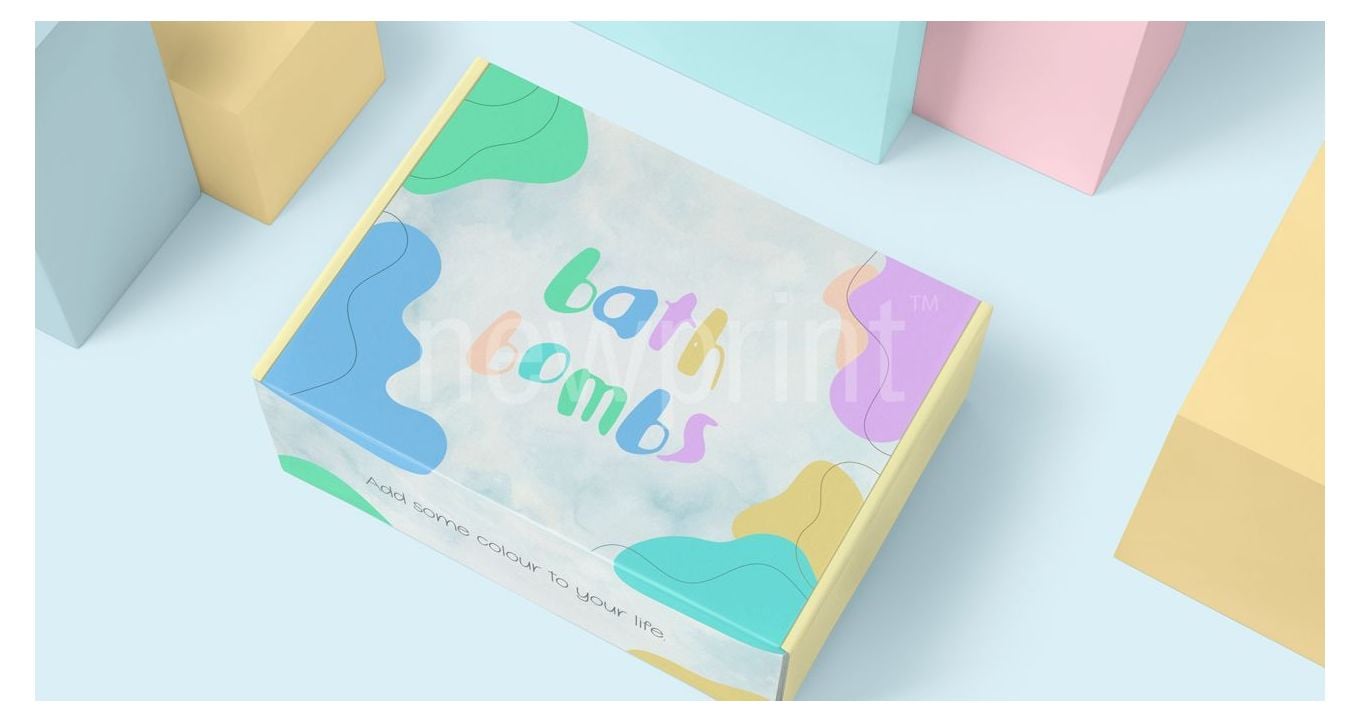
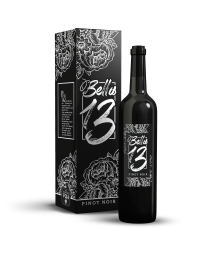
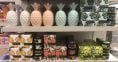
To ensure the design will appeal to your customers, you should let the designer know your target market. This will help you choose the right color scheme and design elements like shapes, symbols, and themes. Children love colorful designs that will capture their attention the second they see it. Upscale products require a more subtle, elegant design. Remember that although the design should reflect your brand, it should also appeal to the customers you want to sell to. You are not creating the product for yourself. Or at least not just for yourself.
Providing information about the elements you want on your paperboard packaging to the designer is necessary. But, although you have a general idea of what you want, you should be open to suggestions. This is just the reason you hired experienced professionals. They can help you best incorporate the elements you want into the available space.
Design Approval
If you are using Newprint's design services, we will send you a design proof. You need to approve it to wrap the design part of your project. We do this to ensure your satisfaction and give you the chance to make sure everything is as you want it to be. Also, if you have some comments and want us to change something in the design, this gives you a chance to let us know. Once you approve the design, we move on to the next stage.
Note that if you are the one providing the design, there will be no design proofing stage, as we are working with your files and we assume you are satisfied with the design.
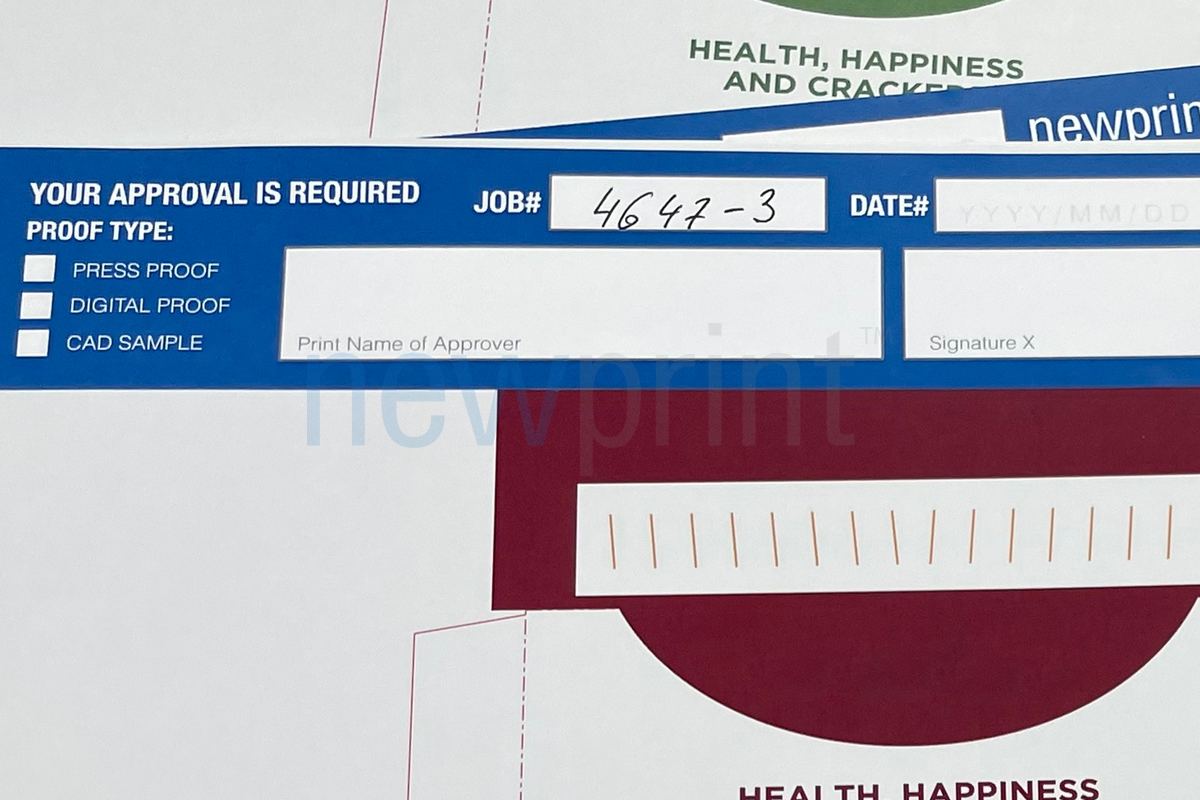
Printed Proof
Once we have the design file, we will create the hard copy proof of the box. The purpose of this proof is to check if all design elements are in the right place. It is important to remember that this is not a color proof. Also, any embellishments that the final product should have, such as foil and embossing, will not be a part of the printed proof.
Approving the Printed Proof
This is the final stage of the process. Once the printed proof is approved, we will start the production.
We hope you now clearly understand the steps in creating product packaging. You can always contact our packaging experts if you have any questions. Or check our custom packaging page to see available options.